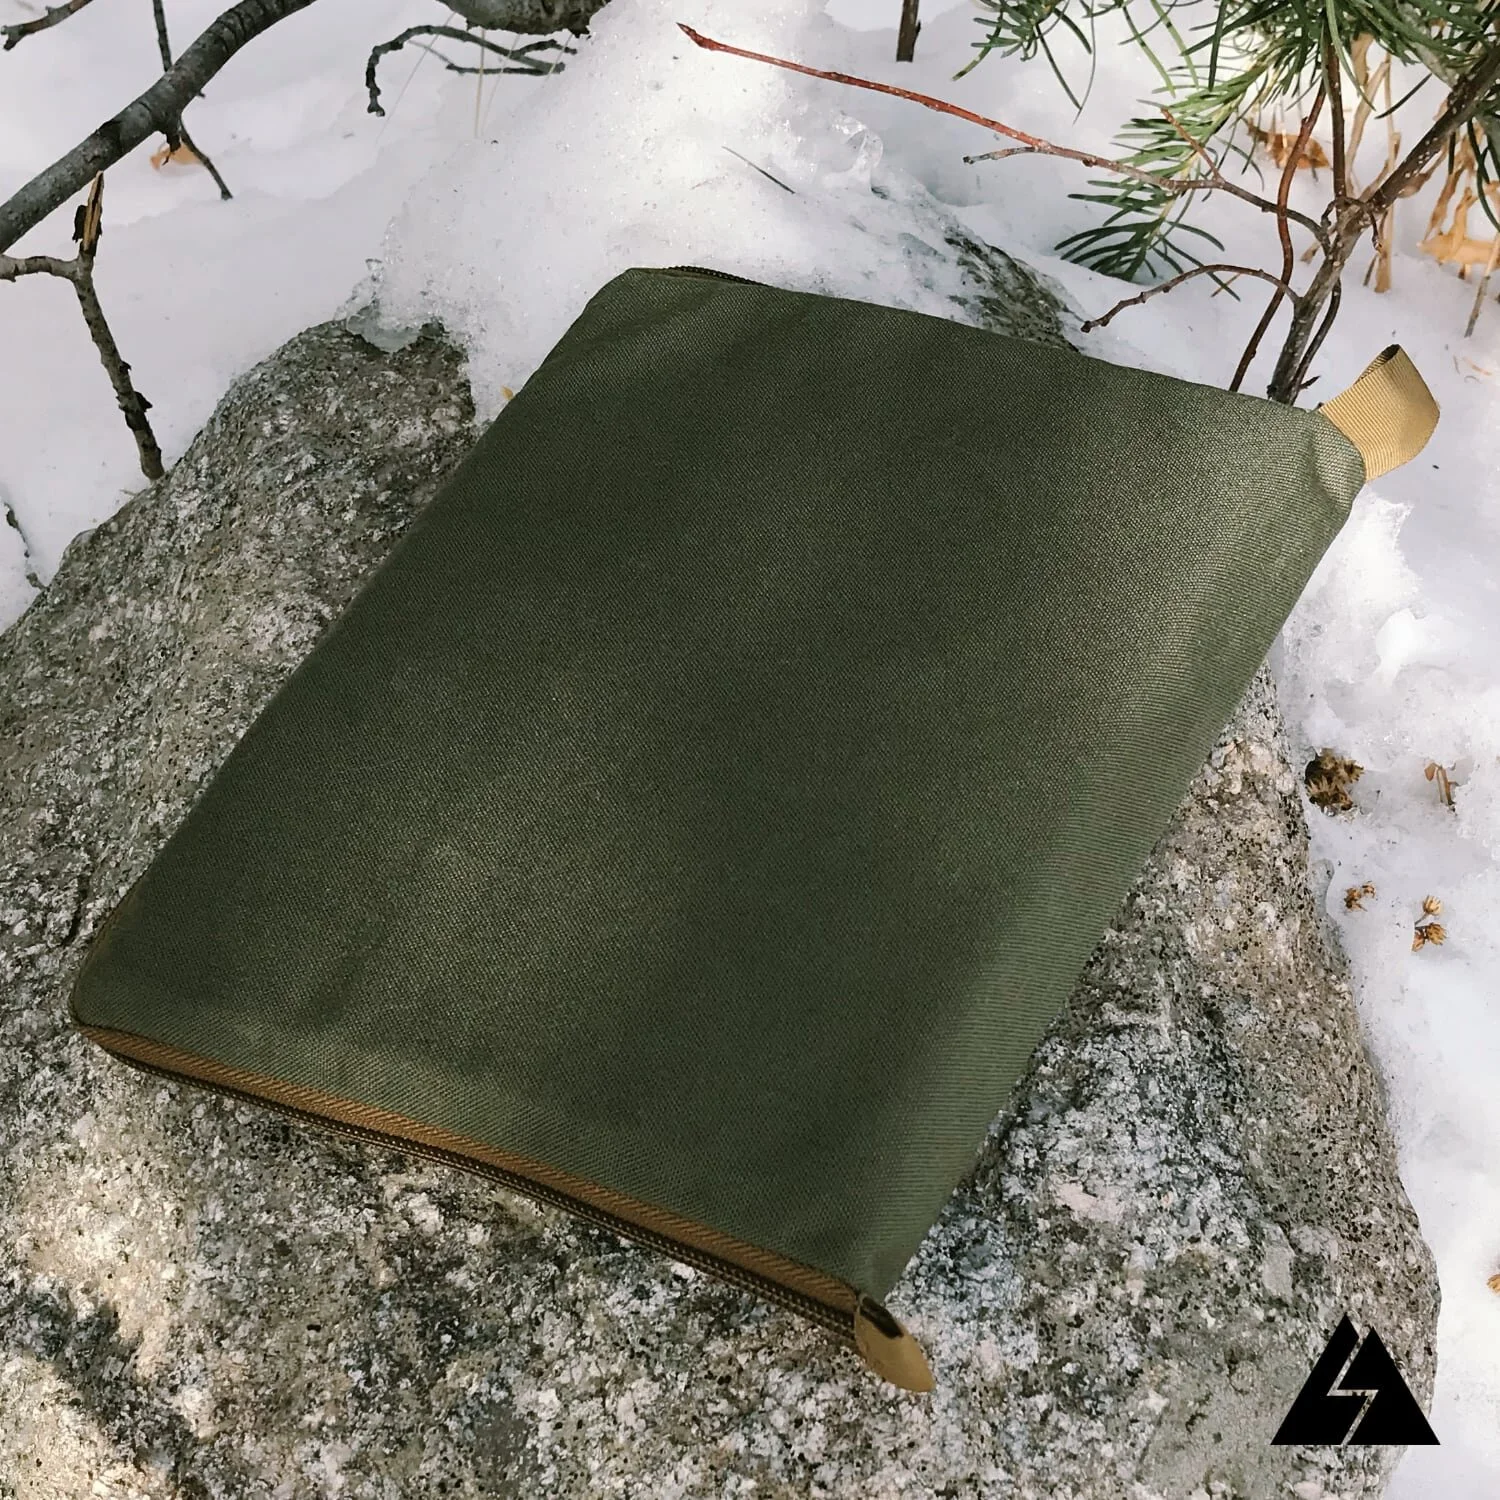
The Bar Tack Stitch
A bar tack is a stitch used to reinforce a seam. You will see them used a lot on outdoor gear, especially where webbing attaches to fabric or buckles and in other high stress areas. Manufacturers have sewing machines dedicated to sewing bar tacks, but luckily for the DIY’er bar tacks can be easily sewn on a home sewing machine.
This article will go over how to sew a bar tack as well as its advantages and disadvantages compared to the Box X stitch, which is another reinforcement stitch which we go over in a separate article.
A bar tack is simply a series of zig zag stitches that are placed very close together. They are generally about 1/16” - 1/8” wide and 1/2” - 3/4” long, although the size can vary based on the application.
There are a couple of different ways to sew a bar tack, which we will go over below.
Note: ( This article pertains to reinforcing pockets or straps on clothing, backpacks, or other bags. Do not attempt to make climbing gear or other life saving gear at home.)
Method 1
The first method is to set the zigzag on your machine to the desired width and set the stitch length so its just greater than 0. Simply sew for the length you want the bar tack. The stitches should be close enough together that only one pass is needed. Remember to back stitch at the beginning and ending of the stitch so that it doesn’t come undone.
Method 2
A second method for sewing a bar tack is to set the zig zag on your machine to the desired width and the stitch length a bit longer than in the first method. In this method you stitch forward for the desired length, then backstitch over what you just sewed and repeat making three or four passes over the same area.
Which method you use will depend a lot on your sewing machine, the fabric you are using, and the type of thread. Doing some tests is the best way to figure out which will work best. You may find that certain fabrics don’t feed very easily on your machine and one method ends up working better than the other.
It is always a good idea to do some sample bar tacks each time you start a new project using the exact fabric and thread as all these variables can affect how the stitch turns out and the same method and settings won’t necessarily work the best in all cases.
Additional tips
It can be helpful to go slow while sewing a bar tack. Especially if attempting to sew through multiple layers of fabric. Sometimes, sewing a bar tack through several layers of webbing and fabric can be on the edge of what a home sewing machine can handle. In such cases, make sure you are using a heavy enough needle, Turning the hand wheel by hand can also help.
If you find that you need a bar tack in a situation that your sewing machine just can’t handle, don’t worry, you can sew a bar tack by hand, using a heavy duty needle and a thimble. Although more labor intensive, a well done, hand sewn bar tack is plenty strong.
Hand sewn bar tack.
There is some debate about which stitch, the bar tack or the box x is stronger. And which should be used in different applications. An argument can be made that a bar-tack punches many more holes into a small area of fabric and thus weakens the fabric more than a box x stitch, which spreads the holes over a larger area. This could especially be a concern when using thinner fabrics or those that are more prone to ripping. In such cases it is a good idea to use the box x stitch if there is enough room to do so. If there is only room for a bar tack you can add an additional layer of fabric behind it for added strength.
Although I don’t have a definitive answer as to which stitch is stronger I can say that I haven’t had an issue with either stitch failing in any of my MYOG projects as long as it was well sewn. In general, when I have the room, I use a box x stitch and when there isn’t room I use a bar tack.
Related products that we recommend:
The links above are affiliate links. As an Amazon Associate Stitchback earns from qualifying purchases.