Make a Modern Snapsack

The snapsack is a traditional way of carrying things that dates way back to the 1700’s. Although there is some debate on what exactly the term snapsack refers to in historical writings, the general consensus is that it refers to a simple tubular bag, that tapers on one end and was tied closed on the other. It is worn across the back by way of a shoulder strap, making it the OG crossbody bag. If you are interested in seeing a traditional snapsack, there are some photos and a bit more info here.
This article will go over how to make an updated version of the snapsack. The biggest change will be in the materials used. Traditional snapsacks were made from cotton canvas or linen. This version will make use of modern pack materials. It also utilizes a drawstring closure, rather than simple ties. This bag is a very easy, quick project and is great for youth or others just learning how to sew. It’s also a fun way to use up any fabric you might have left over from other projects.
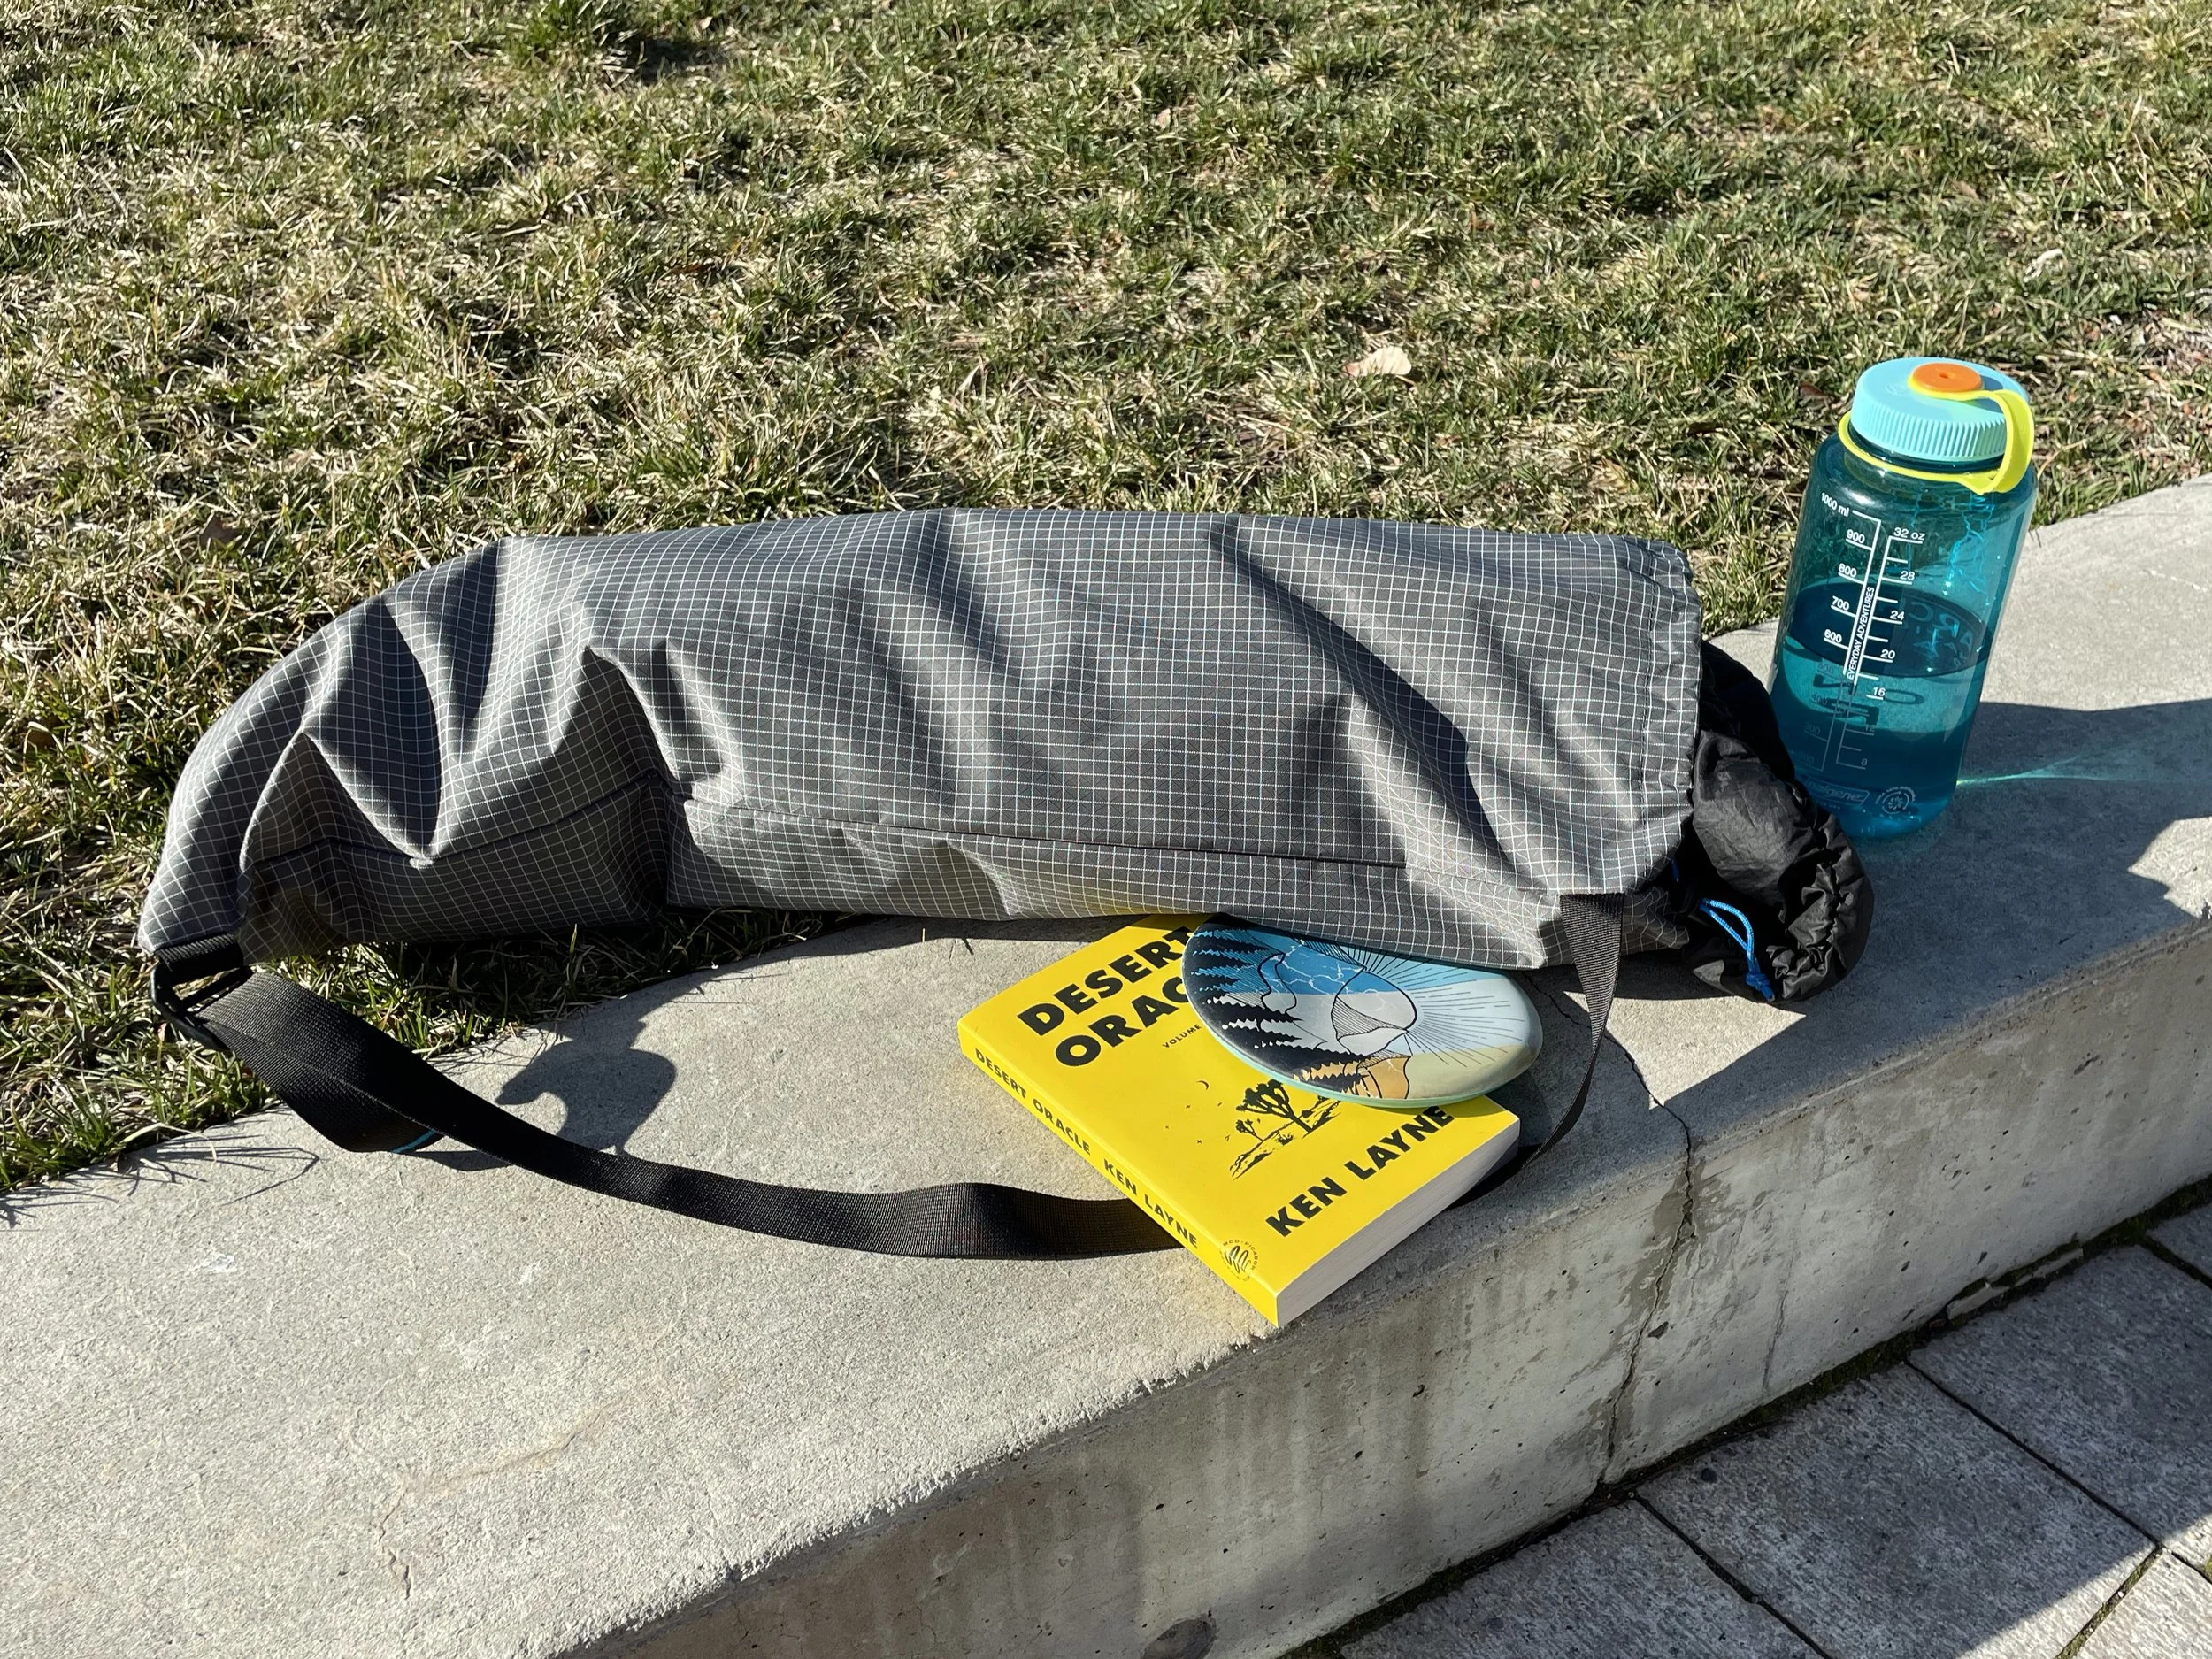
In use, I have found that this bag is kind of like a mix between those ubiquitous string backpacks and a small duffle bag. It would make a great bag for carrying a jacket and a book to the park, or for throwing a chalk bag and some shoes in, to take to the climbing gym. And while it may not be the most comfortable bag ever conceived, it is a fun throwback to the way our ancestors used to carry things.
Materials needed:
1 - Piece fabric about 24x30”
1 - 40” piece of 1” wide webbing
1 - 1” side release or adjustable hook buckle
1 - 32” piece of cordage for the drawstring
1 - Cordlock
Grosgrain for binding the seams if desired
Choosing a fabric:
Most fabrics suitable for making backpacks would work great for this project. But remember that the snapsack closes with a drawstring, so stiff fabrics such as some laminated fabrics might not be the best choice.
Assembling the bag:
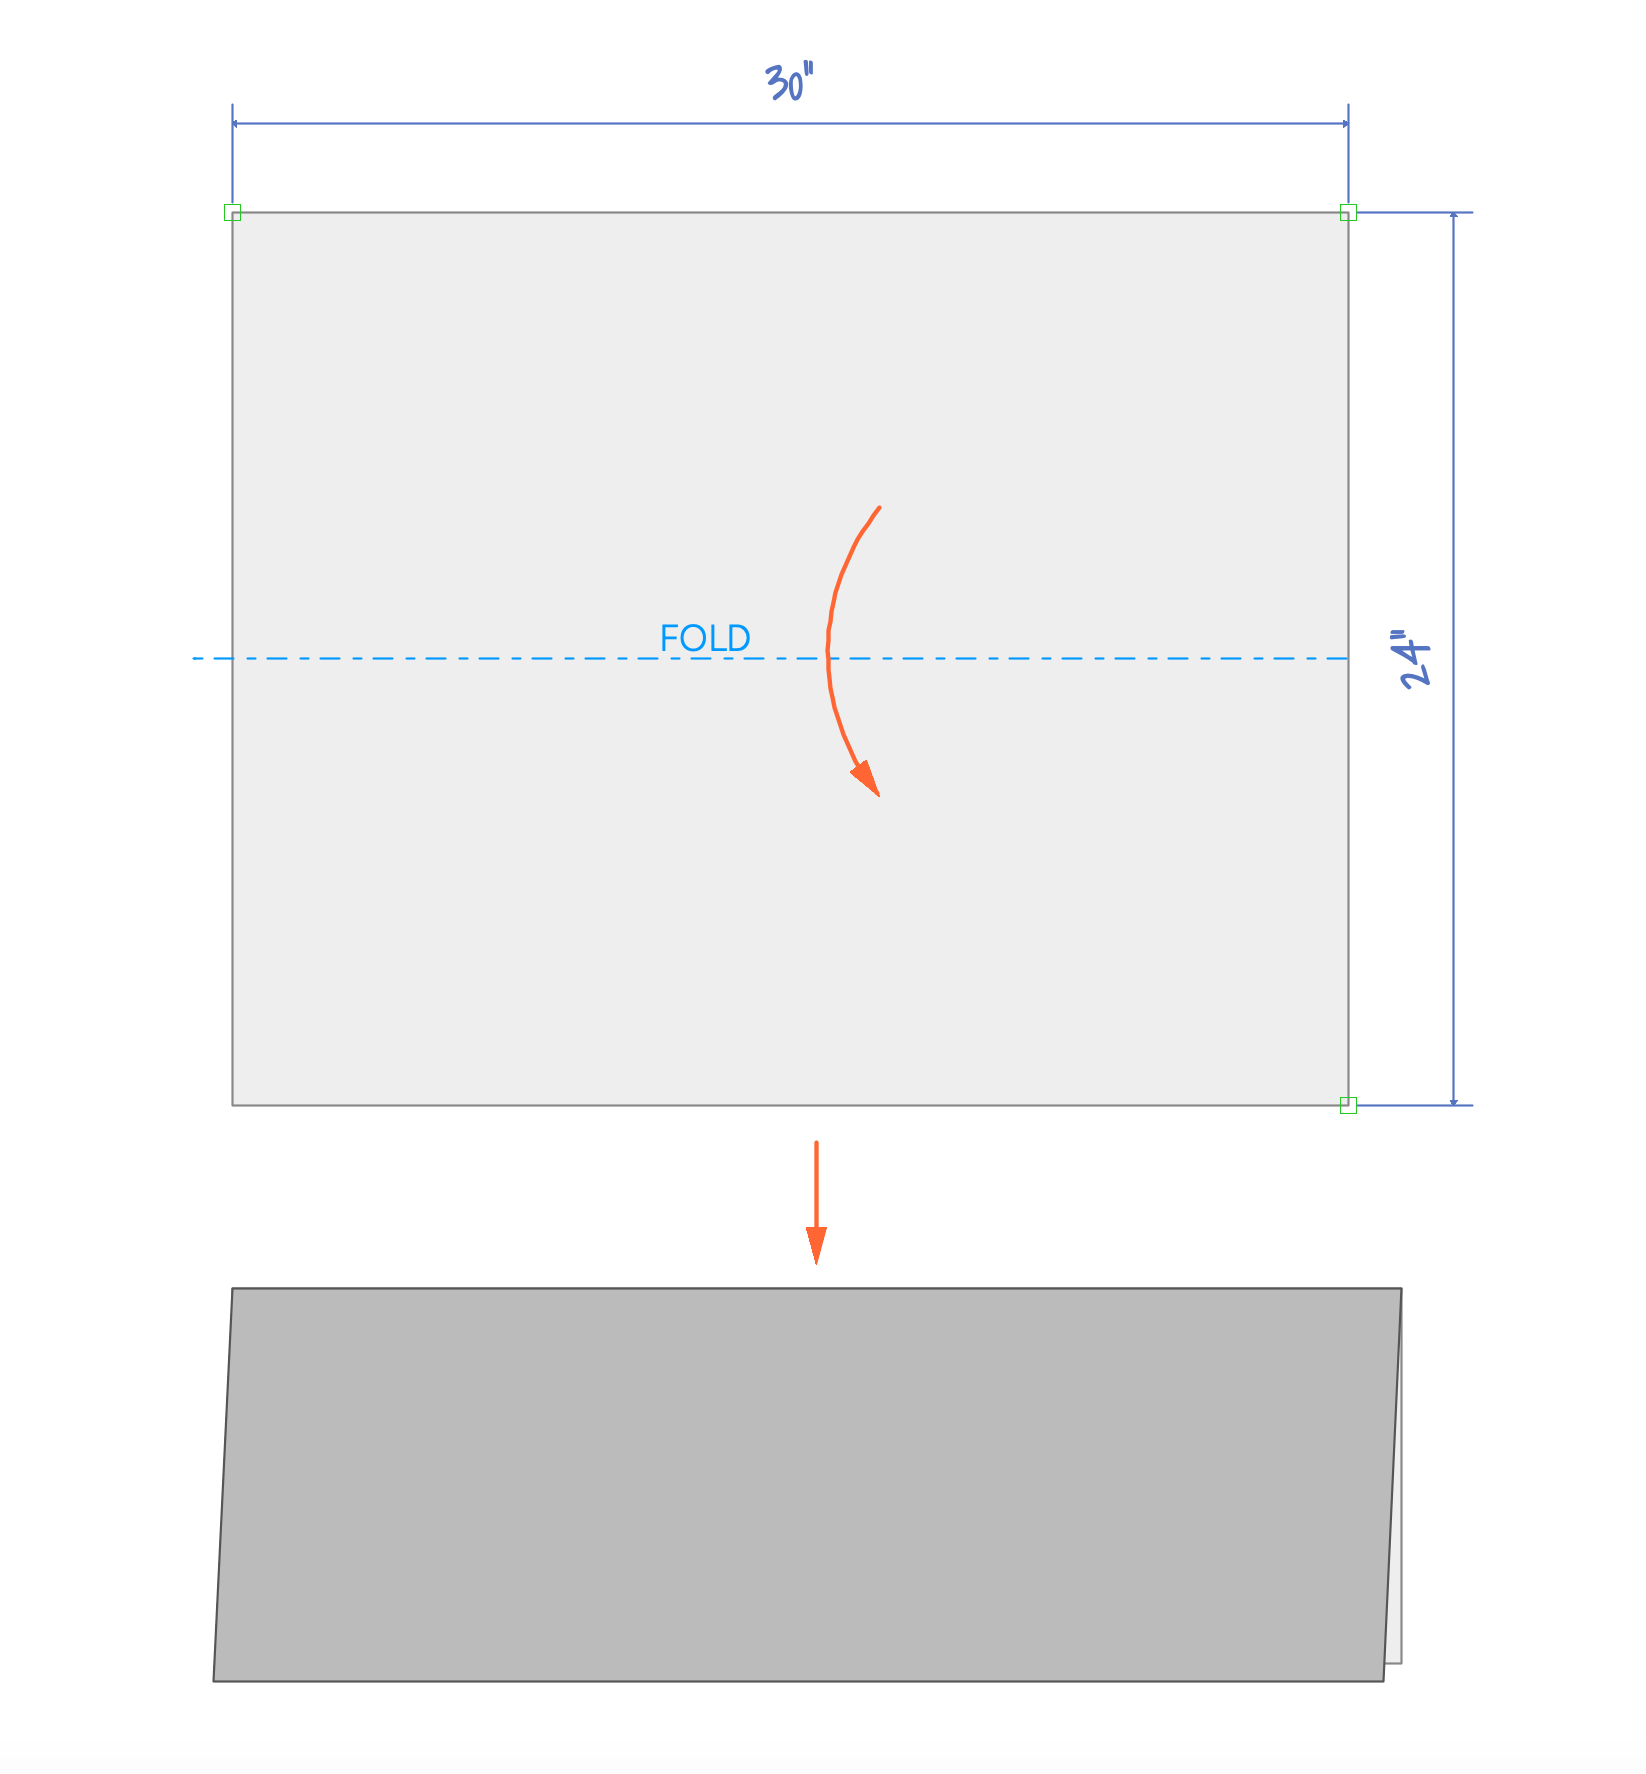
1. Start by cutting the fabric to 30”x24”.
Note: This size will work for many people, but smaller people may find it makes a bag that is too long. The nice thing about this project is that it is very easy to customize the size if desired.
2. Fold the fabric in half lengthwise so that right sides are together as shown below.
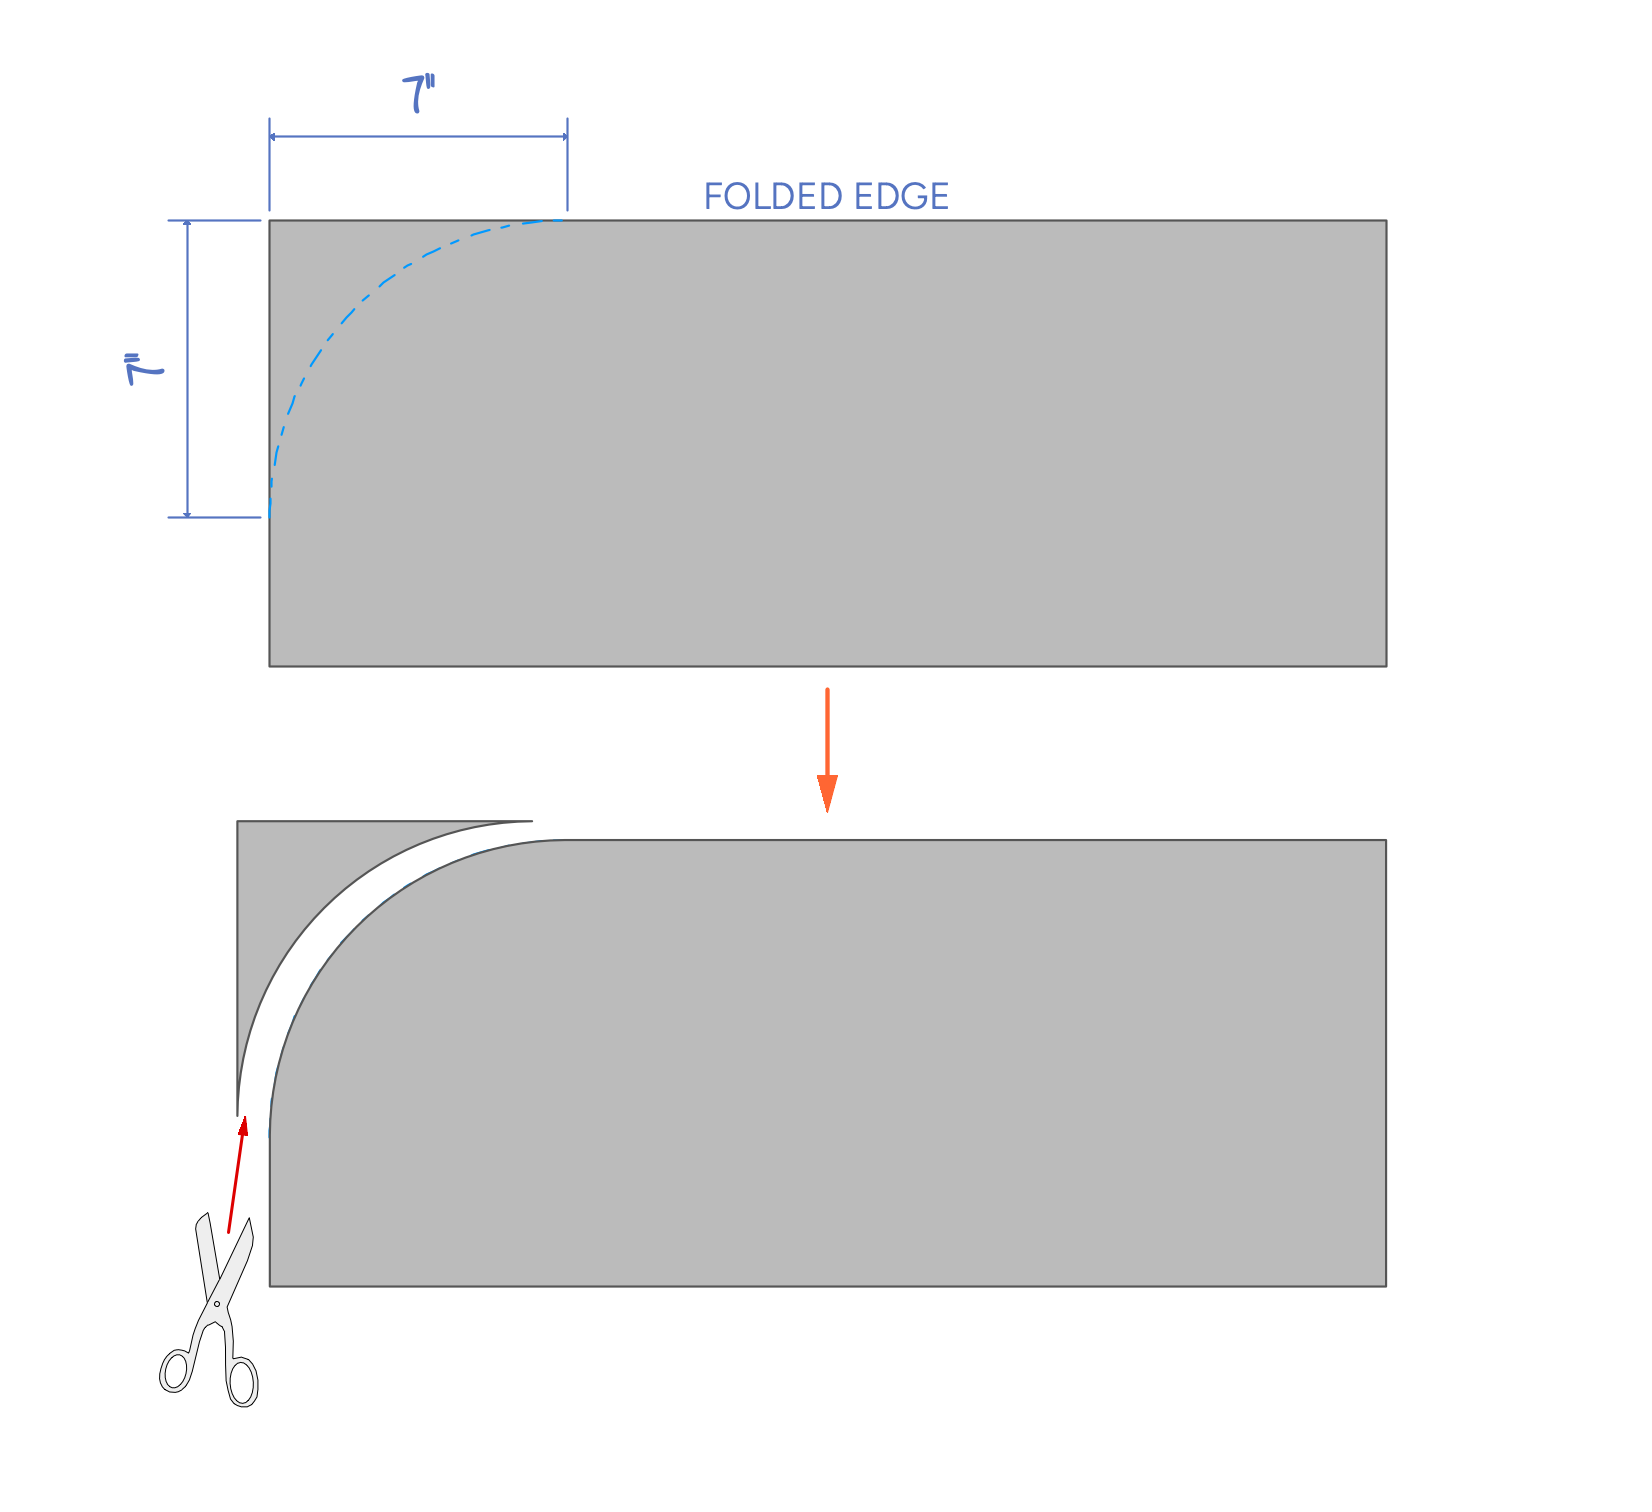
3. Cut a curve on one end of the fabric as shown. The curve should start on the folded edge of the fabric and extend about 7” from the corner in both directions as shown below. The exact shape of the curve is not critical.
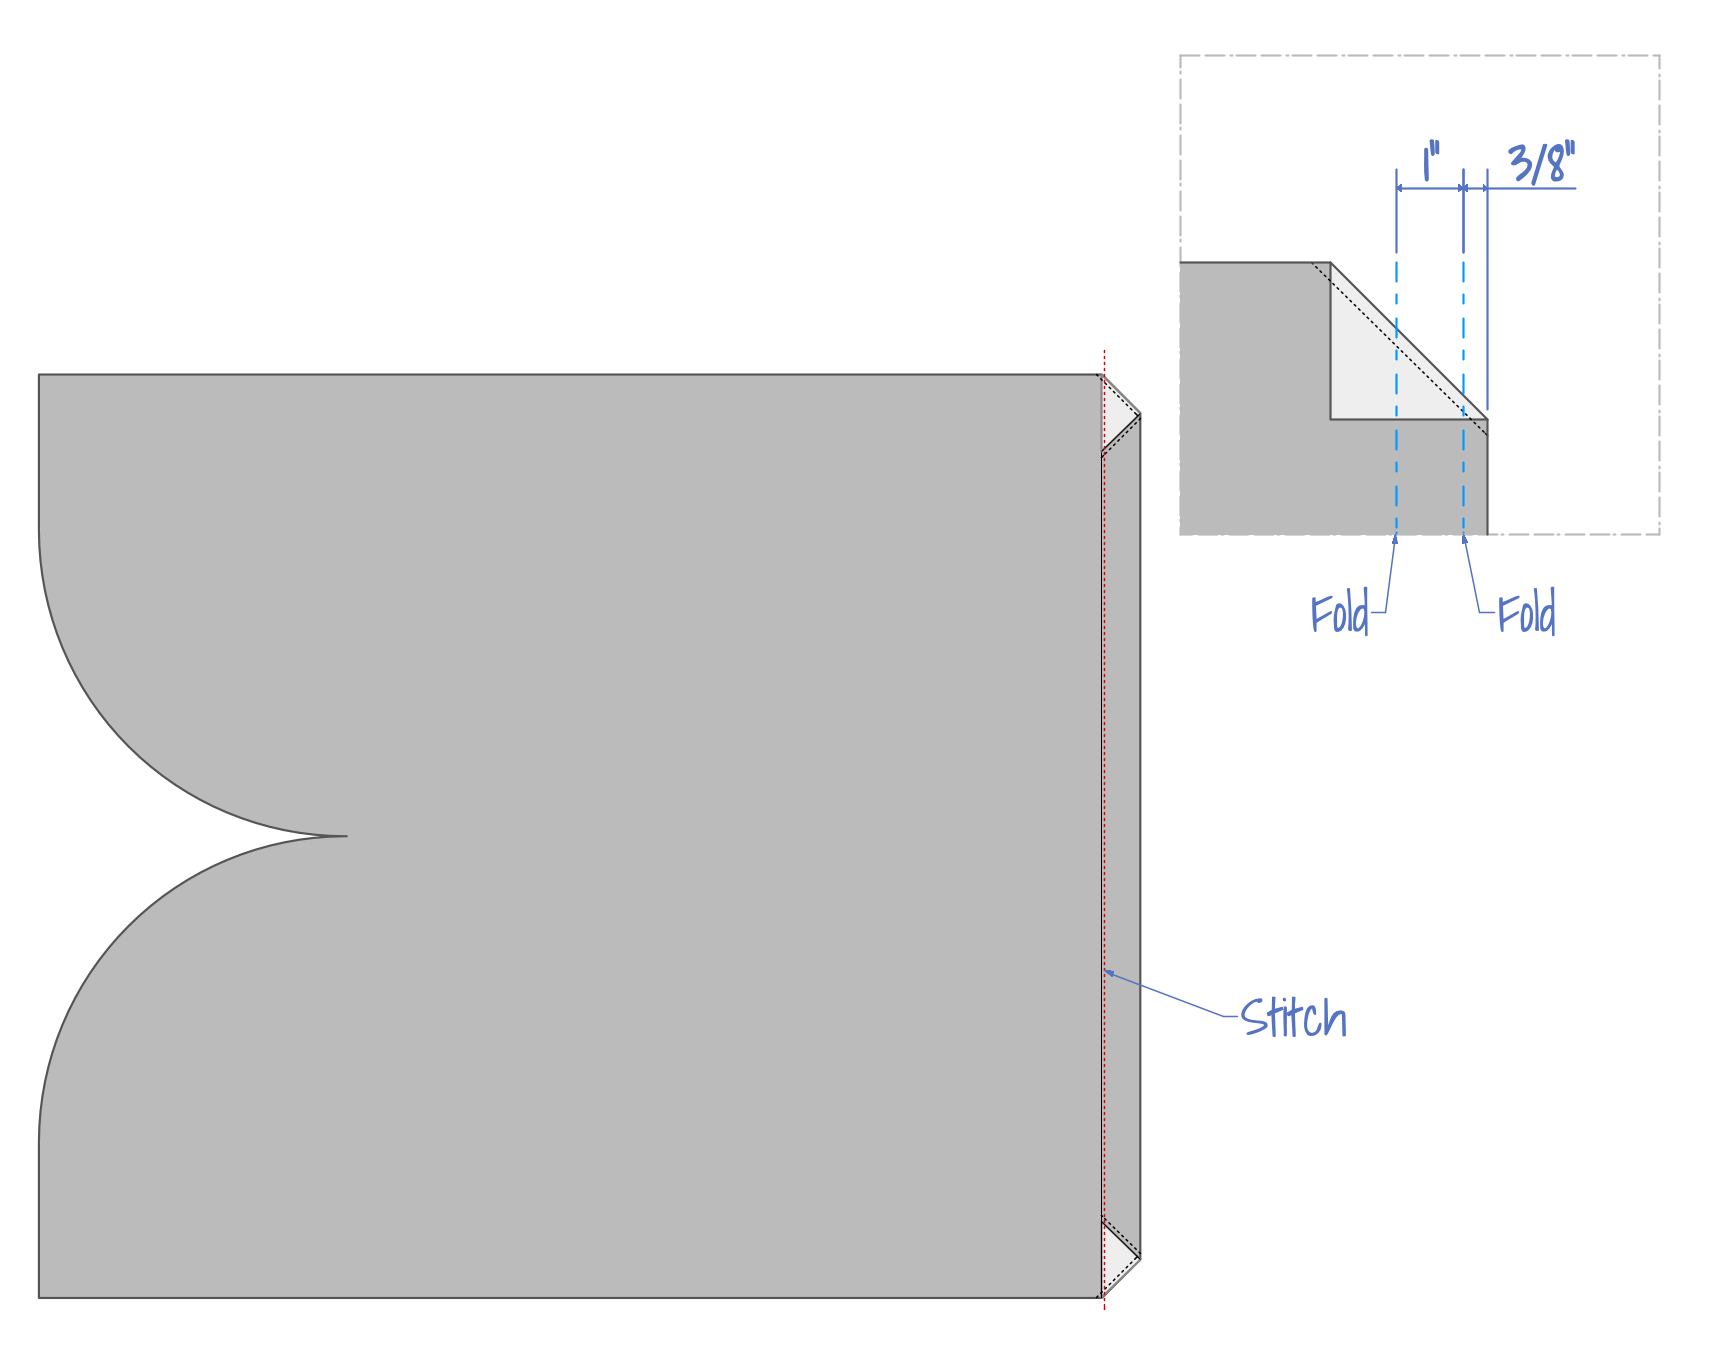
4. Fold the fabric open so that the wrong side is up. Mark a diagonal line on the corners of the end opposite the curves as shown. The line should start and end 2-3/8” from the corner as noted below.
5. Fold the corners along the marked line so that wrong sides are together as shown below.

6. Stitch the folded corners in place, stitching about 1/8” from the fold. Then stitch a second line about 1/4” from the first as shown below.
7. Fold a casing for the drawstring by first folding 3/8” and then 1” as shown below. Fold toward the wrong side of fabric. When folded properly, the inner edge of the casing will align with the folded corners as shown below. Stitch the casing in place stitching all the way across the part as shown.
8. Take a 36” piece of 1” webbing and pin it to the right side of the fabric as shown below. The webbing should be positioned so that it is about a 1/4” from the drawstring casing as shown.
9. Stitch the webbing in place with a 1/4” seam allowance.
10. Take a 2-½” piece of 1” webbing and fold it in half forming a loop. Pin the loop to the right side of the fabric, 3/4” in from the other end of the fabric as shown.
Note: If you are using a side release buckle rather than an adjustable hook, you will need to use a slightly longer piece of webbing, and it should be threaded through the female side of the buckle before pinning it to the fabric.
11. Stitch the webbing loop in place with a 1/4” seam allowance.
12. Fold the fabric so that right sides are together and the edges are aligned as shown below.
13. Stitch the top and curved edges with a 3/8” seam allowance as shown.
14. Stitch a bar tack on the seam where the webbing attaches as shown below.
15. Bind the seams with grosgrain if desired.
16. Turn the bag right side out. Run the drawstring through the casing. Pinning a safety pin to the end of the drawstring before threading it into the casing can make this process easier.
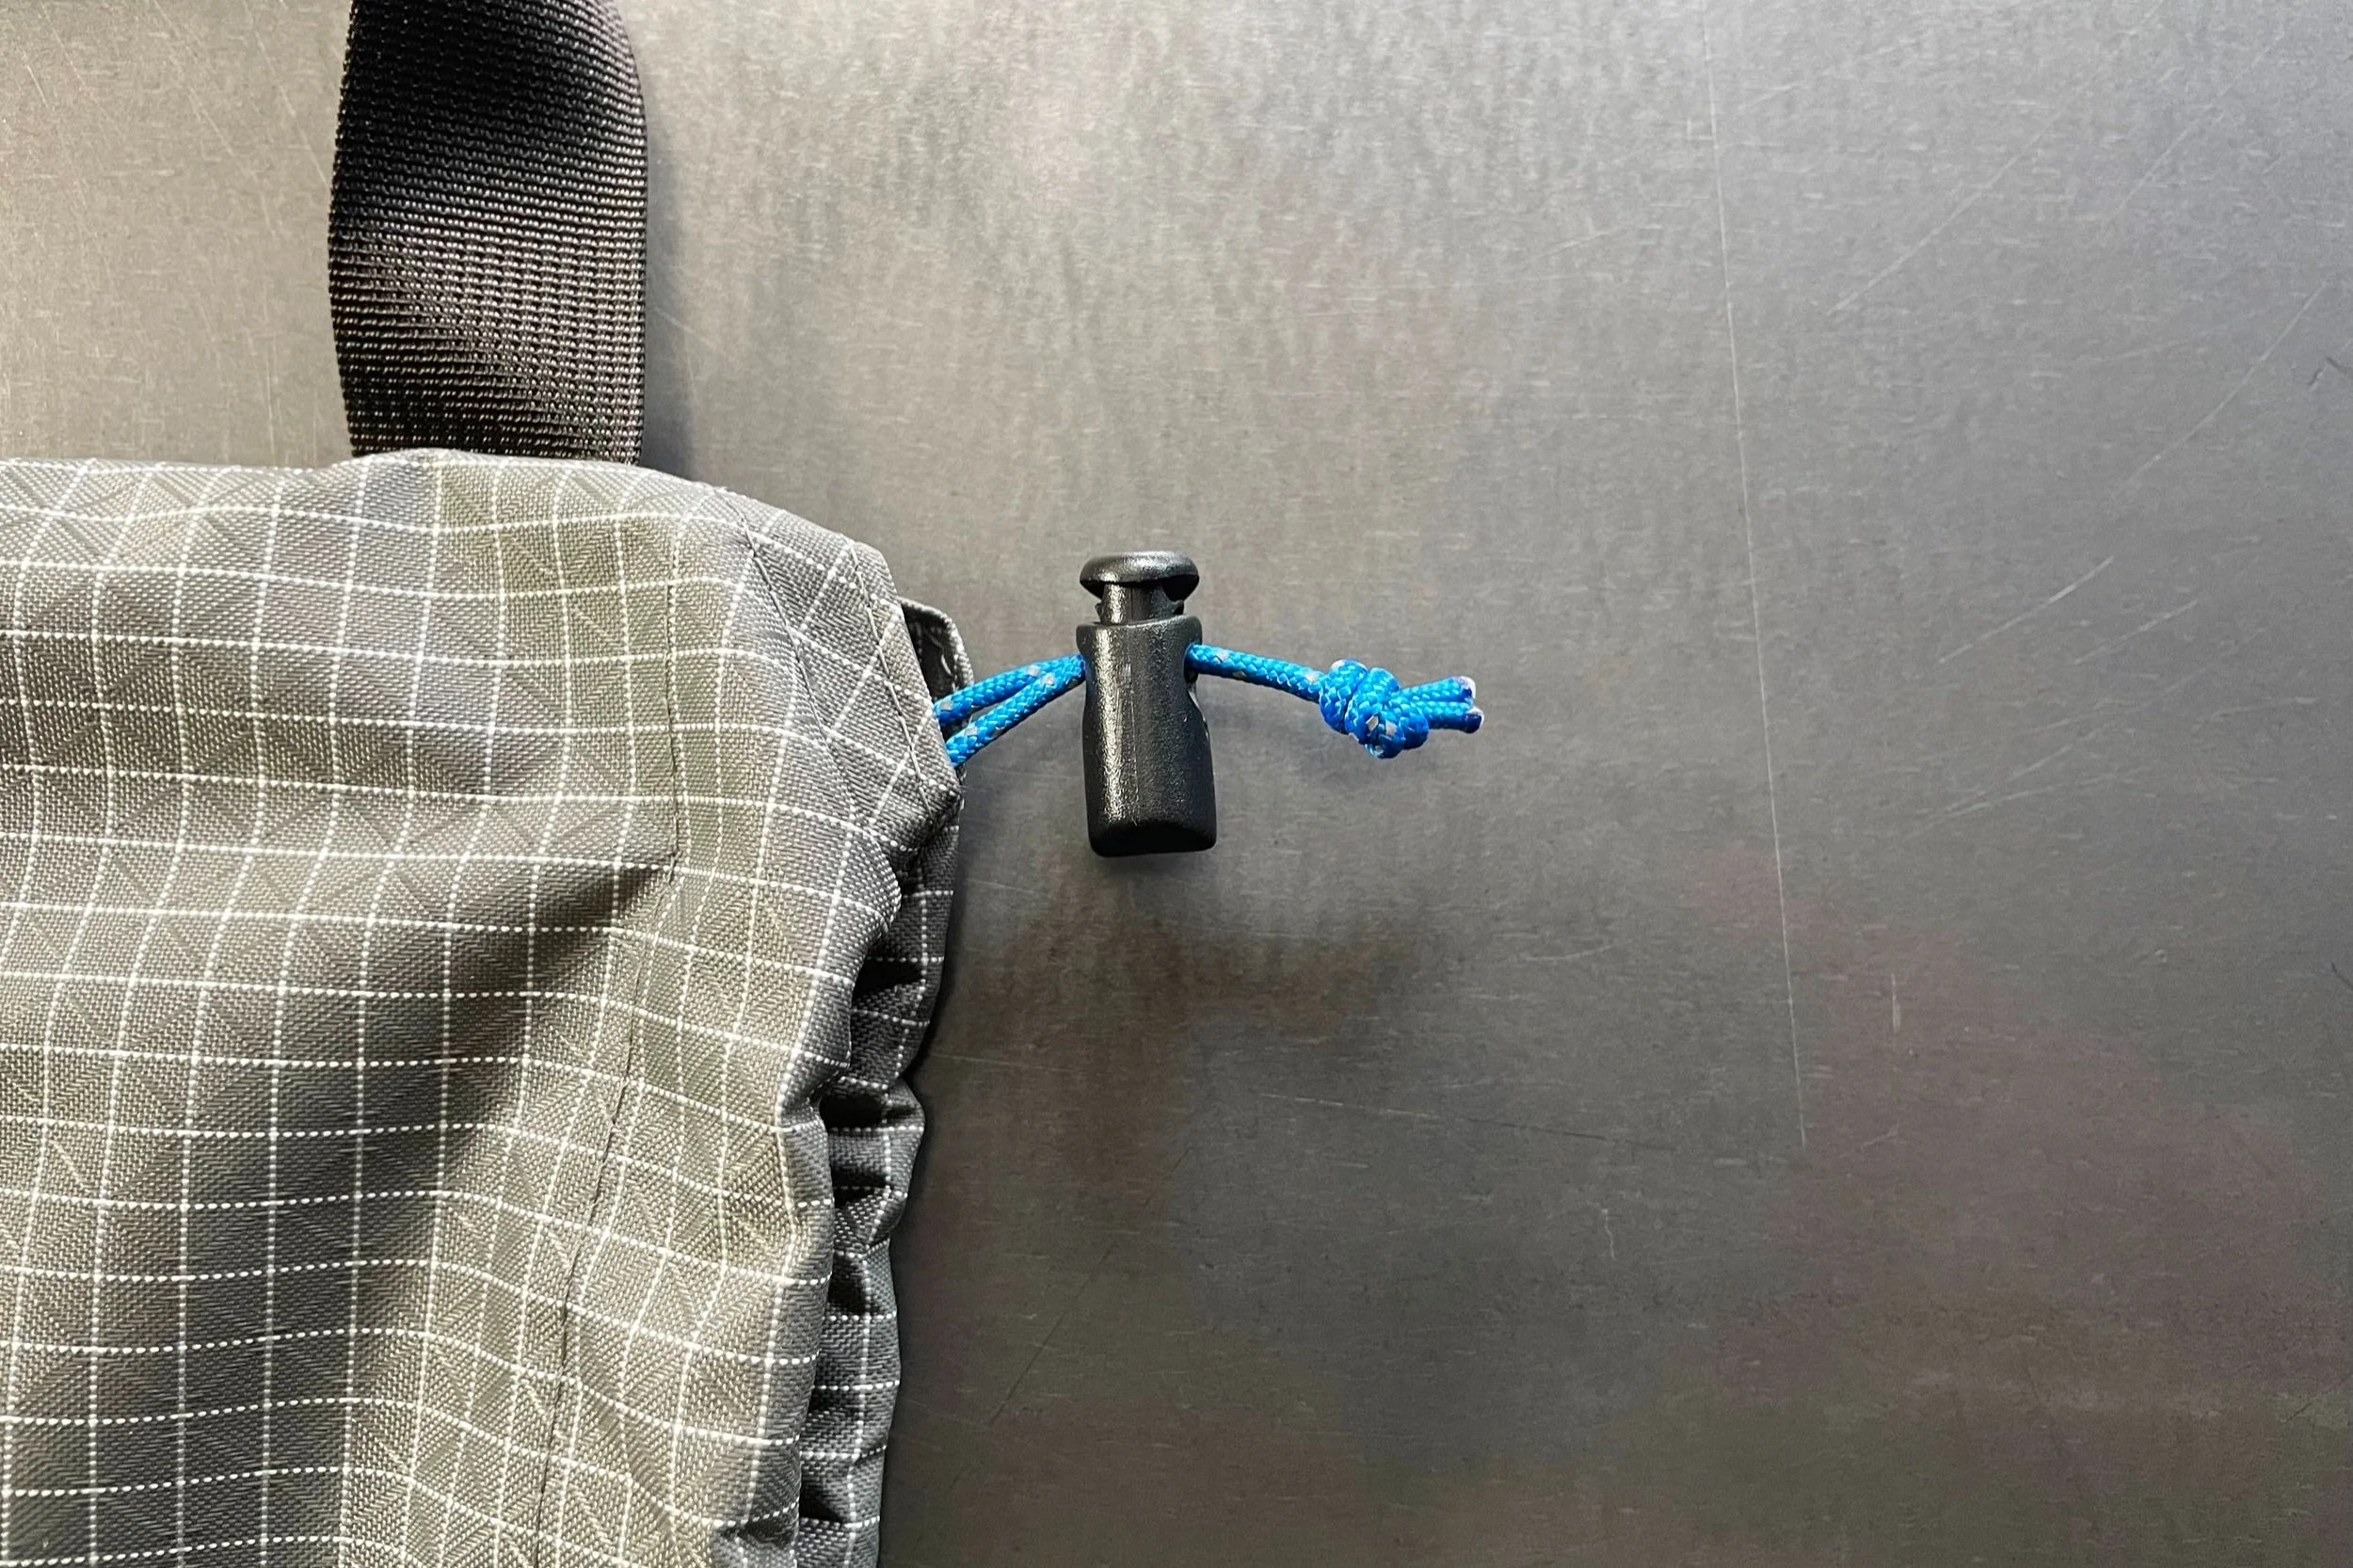
17. Install a cord lock on the drawstring and tie knot so it can’t slide off.
17. Thread the loose end of the webbing through an adjustable hook buckle or the male end of the side release buckle. You may want to stitch a small fold on the end of the webbing to make it less likely to slide out of the buckle, as shown below.
The finished bag.
Thats it! the finished snapsack. Now you have a unique and self made bag to take on your next around-town adventure!

Related products we recommend
The links above are affiliate links. As an Amazon Associate Stitchback earns from qualifying purchases