Cutting Parts From Fabric
One of the first steps in an myog sewing project is cutting the parts out of the fabric. This process has 2 main steps. First, affixing the pattern to the fabric, and second, cutting out the parts. This article will give an overview of some of the different methods that can be used for each of those steps and some of the pros and cons of each.
Affixing the pattern to the fabric
The pattern needs to be held in place on the fabric so that it can be cut out accurately. There are several ways to do this, including pins, weights, and magnets
Pins
Pattern pinned to fabric. You can see the pin creates a small wrinkle.
One of the most common ways to secure the pattern to the fabric is to pin it in place with straight pins, as shown in the photo above. The advantage of this method is that it holds the pattern very securely. With pins there is not much chance that the pattern will shift while cutting. But there are a couple of disadvantages. The first is that unlike the other methods we will go over, pins make a small wrinkle in the fabric which could cause inaccuracies when cutting, especially on small or intricate parts. The second drawback is that the pins leave holes in the fabric. This could be an issue if you are making something thats needs to be waterproof but generally this can be avoided by putting the pins in the seam allowance or other areas where the holes won’t matter.
Weights
Pattern held to fabric with weights. These weights are made from 2 large steel washers glued together.
Another common way to hold a pattern in place on the fabric is to use weights. There are commercially available pattern weights made especially for this, but really, anything heavy will work. Large steel washers, or nuts, small sandbags, or anything heavy enough to hold the pattern down, make good pattern weights.
One advantage of using weights, is that unlike pins, they hold the pattern completely flat on the fabric. They are also much faster to use than pins and don’t put any holes in the fabric. One of the drawbacks is that they don’t hold as securely as pins. Care must be taken when cutting the fabric not to bump the weights or accidentally move the pattern.
Magnets
Small bulletin board type magnets hold the pattern and fabric to table.
This method is less common because it requires a steel work surface. But If you have the luxury of such a work surface, magnets work really well. Similar to weights, magnets hold the pattern completely flat on the fabric and they don’t leave any holes. Their advantage over weights is that they hold much more securely. (Especially if you use strong, neodymium magnets.)
Cutting out the parts
When cutting the fabric you want to be sure to follow the pattern as accurately as possible so that the parts fit together nicely. There are several different tools that can be used for cutting the fabric including scissors, rotary cutter, and hot knife.
Scissors
Cutting with scissors. The pattern is pinned to the fabric.
This is a very common method that works well depending on how the pattern has been affixed to the fabric. The main advantage to using scissors is that most people already have them and are familiar with using them. One drawback of scissors is that the fabric must be lifted slightly, so that the bottom half of the scissors can slide underneath. This can sometimes cause the pattern to shift leading to less accurate parts. For this reason, scissors work well when the pattern has been pinned to the fabric because the fabric can be lifted without worry that the pattern will move, as could happen if the pattern is held in place with weights. This issue can be alleviated somewhat by using scissors that have a large offset such as the one shown below.
Scissors with a large offset help when cutting patterns flat on the table.
Rotary cutter
Cutting fabric with a rotary cutter. The pattern is held in place with magnets.
A rotary cutter is another common method for cutting fabric that works well with pattern weights or magnets. The big advantage of the rotary cutter, is that the fabric can be cut while lying completely flat. This helps make for very accurate parts. Rotary cutters are available in different diameters. Large diameters are good for long straight cuts and smaller diameter cutters are useful for cutting out more intricate parts. The drawbacks of rotary cutters are first, they require using some kind of cutting mat to both protect your work surface and the cutting blade and second, it can be difficult to cut out parts that have tight curves or intricate details. Rotary cutter blades also get dull over time so they have to be replaced periodically.
Hot Knife
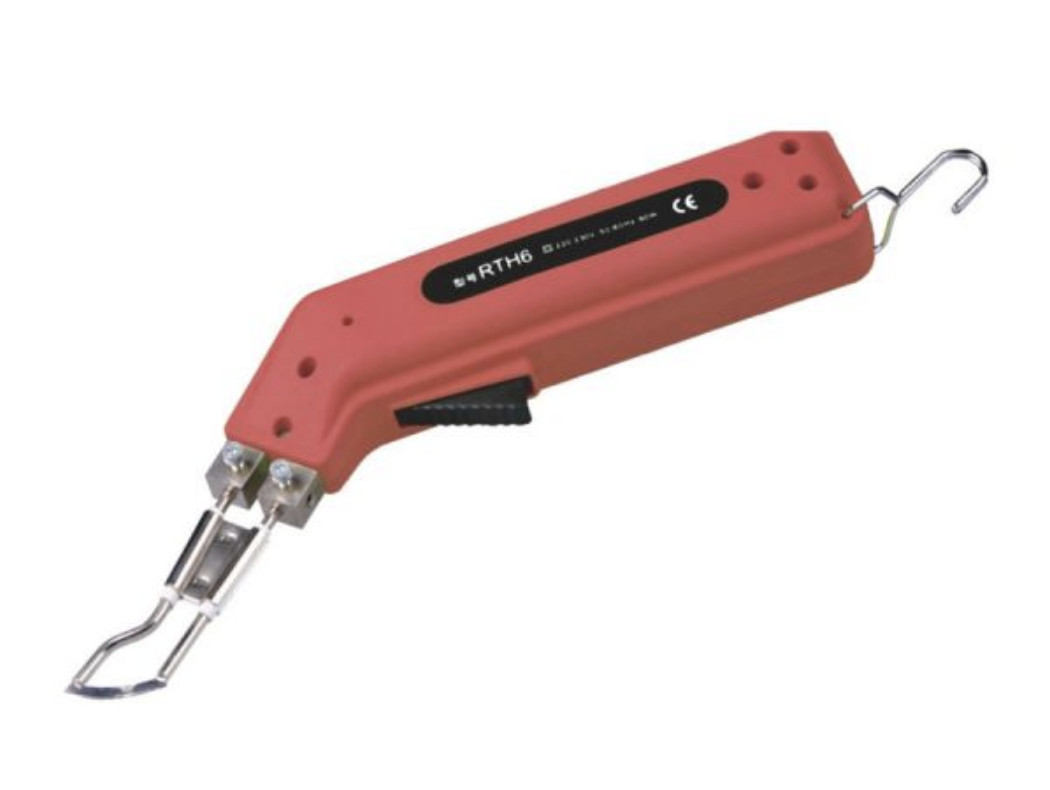
Another method, which is less common for the hobbyist, is the hot knife. A hot knife has the same advantages that a rotary cutter has, in that the fabric can be cut out while lying completely flat. This means that it works well with pattern weights or magnets. It also has an advantage of sealing the edge of fabric as you cut, so that the edges of the part don’t unravel. Hot knives can cut easily through heavy fabrics and can also be used to cut webbing and cordage while sealing the edges at the same time.
There are a few drawbacks though. First, you must have a work surface that can withstand the heat. (Metal or glass are some options.) Second, cutting the fabric will release noxious fumes, so you’ll need a way to ventilate your work area. It’s also a good idea to wear a respirator while cutting. (The fumes can be especially bothersome if your workshop doubles as a kitchen or bedroom.) A third drawback is that hot knives can be expensive. For those that want to try out hot knife cutting without investing in a costly fabric cutter, a cheap wood burning tool such as the one shown below or soldering iron can work as a makeshift hot knife.
Wood burning tool used as a makeshift hot knife.
Conclusion
All of the methods discussed in this article have their place. And which one you decide to use will have a lot to do with what tools you already have, the type of fabric you are cutting, and what the pattern is shaped like. In my own projects I use them all depending on the situation. That being said, I find that a small diameter rotary cutter (28mm) is what I end up using probably 80% of the time.
It takes some experience to know which methods work best in each situation, but hopefully this article will give those just starting out an overview of the some of the more common tools and methods that exist.
Related products that we recommend:
The links above are affiliate links. As an Amazon Associate Stitchback earns from qualifying purchases.