How to Set A Grommet
A grommet is a ring of metal or plastic that is used to reinforce a hole in fabric. They are often used in outdoor gear where a cord or drawstring runs through a hole or to reinforce drainage holes in the bottoms of backpacks etc. Grommets are easy to install and are a good way to add a little bit more durability and a professional look to a project.
This article will go over how to install a grommet using an anvil and setter. There are other methods for installing grommets including grommet pliers or a bench mounted press, but the process is similar.
The Grommet
A grommet is made up of two parts, a male and female side. The male side of the grommet has a barrel that protrudes through the fabric. This is usually installed on the right side of the fabric. The female side (also called the washer) is flatter and is usually installed on the backside of the fabric. You will find that some grommets have small splits in the barrel and some don’t, but they both install in the same way.
Incidentally there is some debate on what the difference is between an eyelet and a grommet. In my research for this article I found conflicting explanations, but in any case, it appears that in common usage the two words are used interchangeably.
The Tools
To install the grommet you need and anvil and setter. These are made specifically to fit the size of grommet you are installing. Often they can be purchased together in a kit with the grommets, ensuring that they are the correct size. The anvil sits on the workbench and accepts the male side of the grommet. The setter is used with a hammer to crimp the barrel of the grommet over the female side.
The Process
Step 1
The first step is to determine where the grommet will be installed. The grommet will be more durable if it is installed in multiple layers of fabric, such as on a hem. If it will be installed where there is only a single layer of fabric, you may want to consider adding a small square or circle of fabric right behind the grommet (especially on ultralight fabrics that are more prone to ripping.)
Next you will need to cut a hole. The hole can be cut with a punch, or carefully cut out with an exacto blade or small pair of scissors. In synthetic fabrics a soldering iron or leather burning tool could be used, and has the added benefit of sealing the edges of the hole. The hole should be just large enough for the barrel of the grommet to fit through. If the hole is cut too large it increases the chance that the grommet will tear through the fabric.
Step 2
Insert the male side of the grommet through the hole from the right side of the fabric. Place the grommet face down on the anvil making sure it is seated properly.
Next place the female side of the grommet over the barrel of the male side of the grommet.
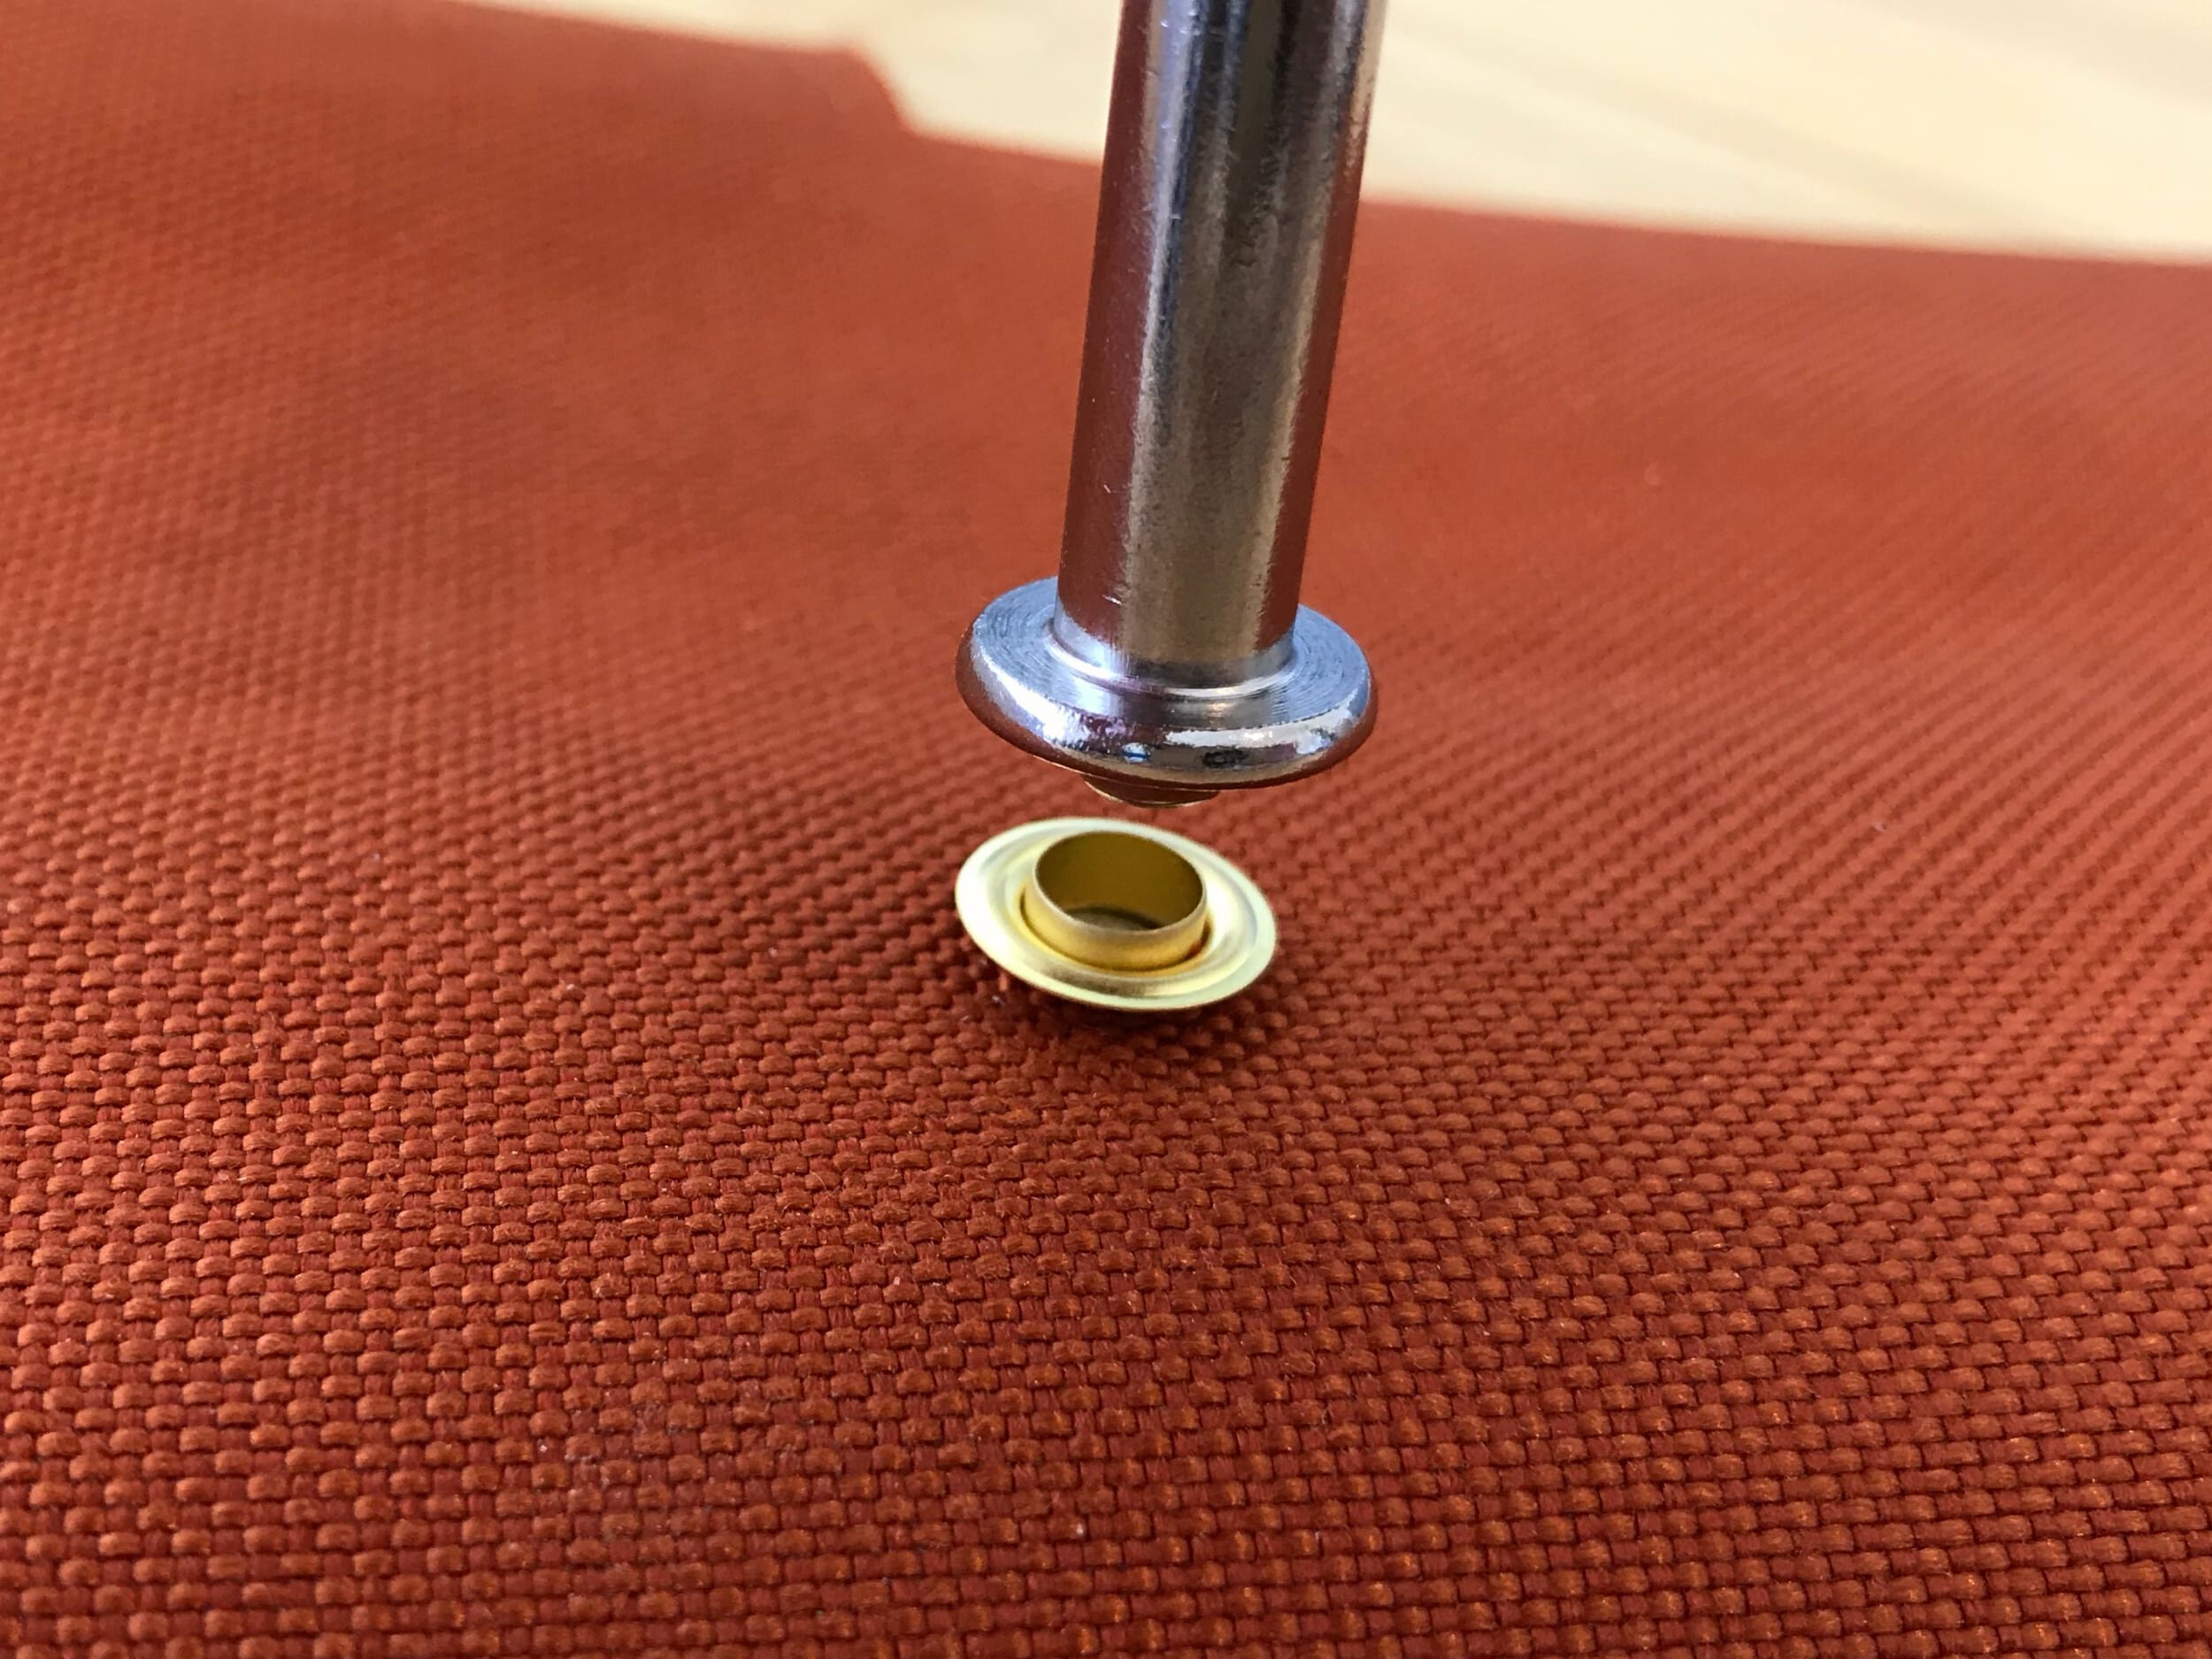
Step 3
Place the setter into the hole in the barrel of the grommet. Use a hammer to tap the setter, crimping the barrel down until it is tight against the washer. It is possible to hammer too hard and deform the grommet, so take it easy. You can always come back and tap it a few more times to tighten it if needed.
Related products that we recommend:
The links above are affiliate links. As an Amazon Associate Stitchback earns from qualifying purchases.