How to Use a Kam Snap Setter
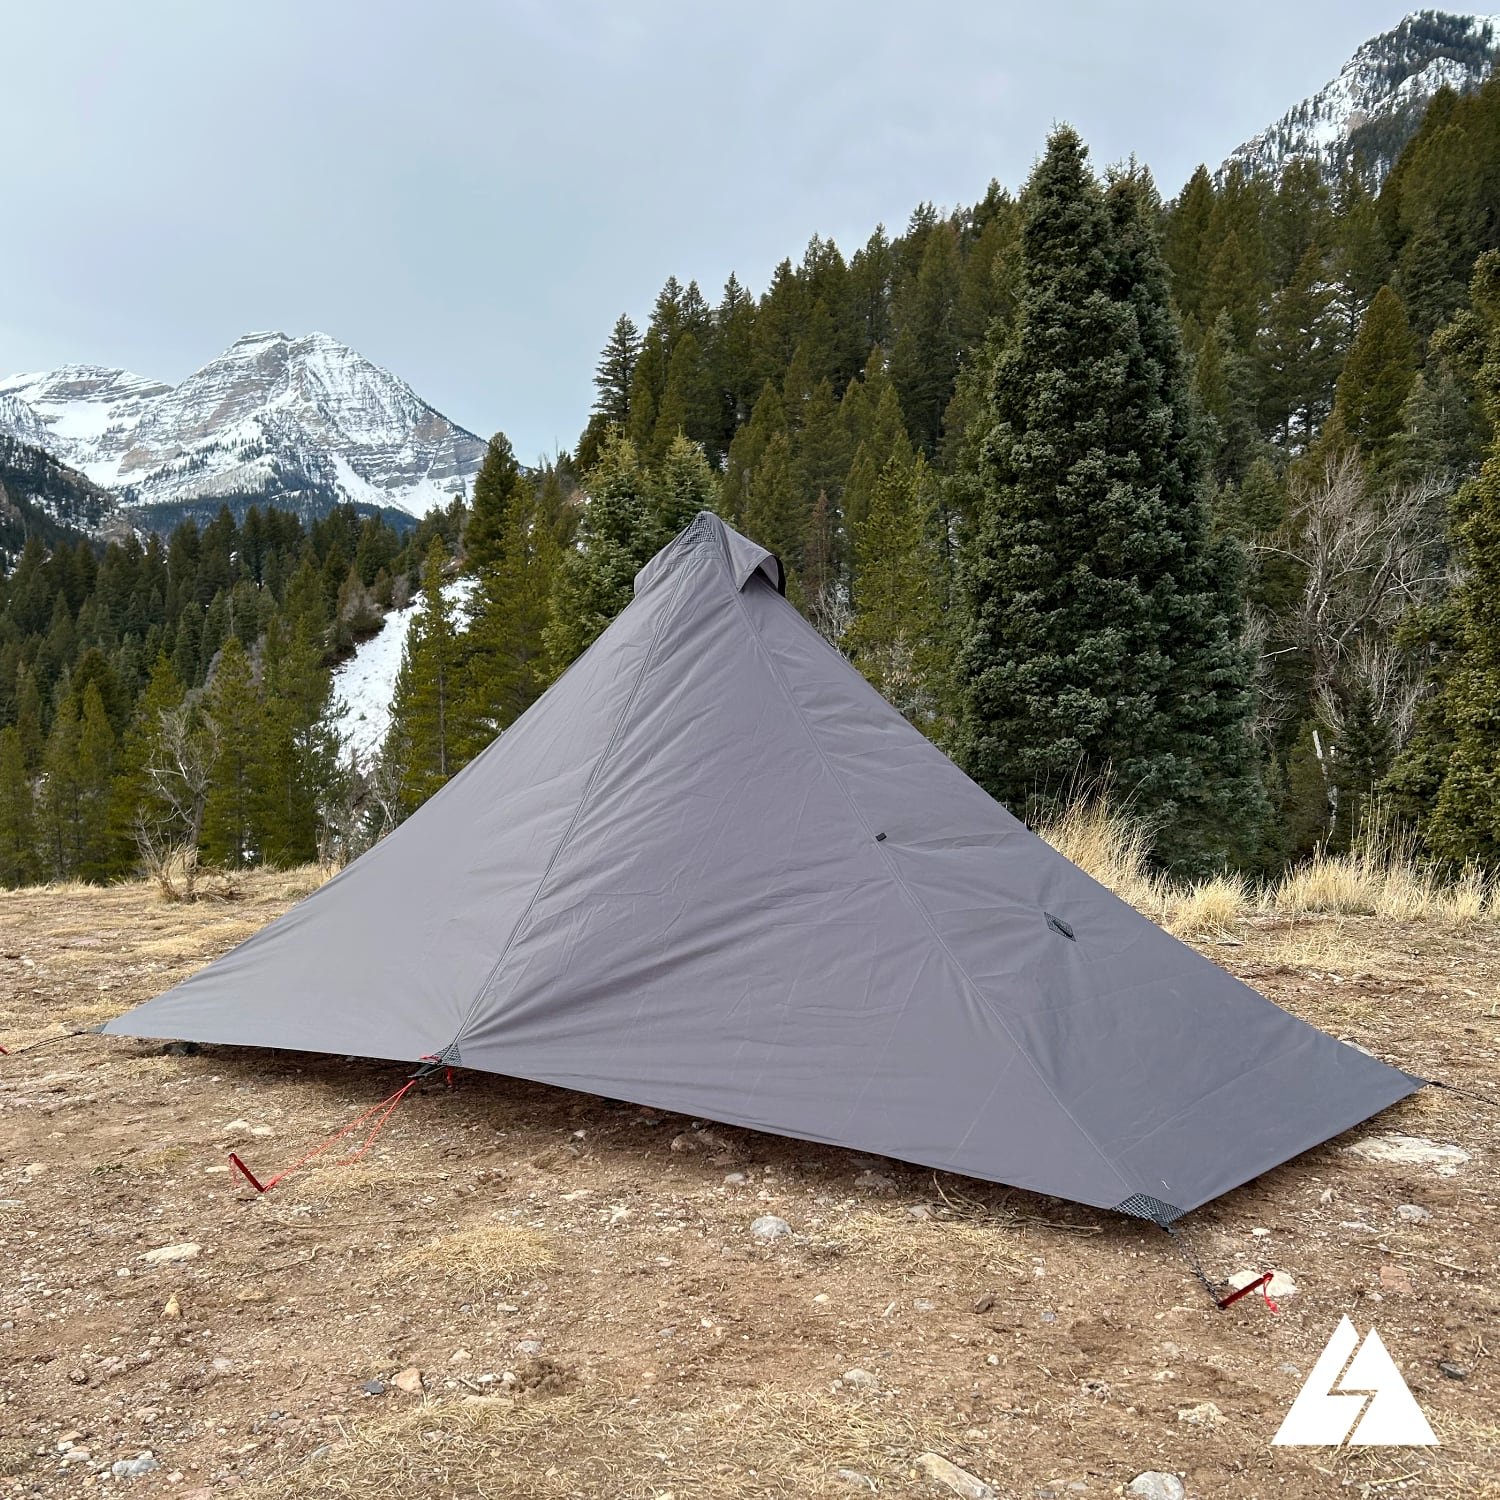
This article will go over how to put snaps in fabric using a Kam snap hand setter. Kam is a brand name and there are other companies that make similar tools, but Kam seems to be the most common. The tool is relatively inexpensive and can often be found online for less than 20 dollars. The snaps that it installs are lightweight and strong and are available in many colors. It is a great tool to have if you are into making your own outdoor gear. The snaps can be used for many applications such as rain ponchos, sleeping quilts, and clothing. I have even used them to make ultralight dry bag closures.
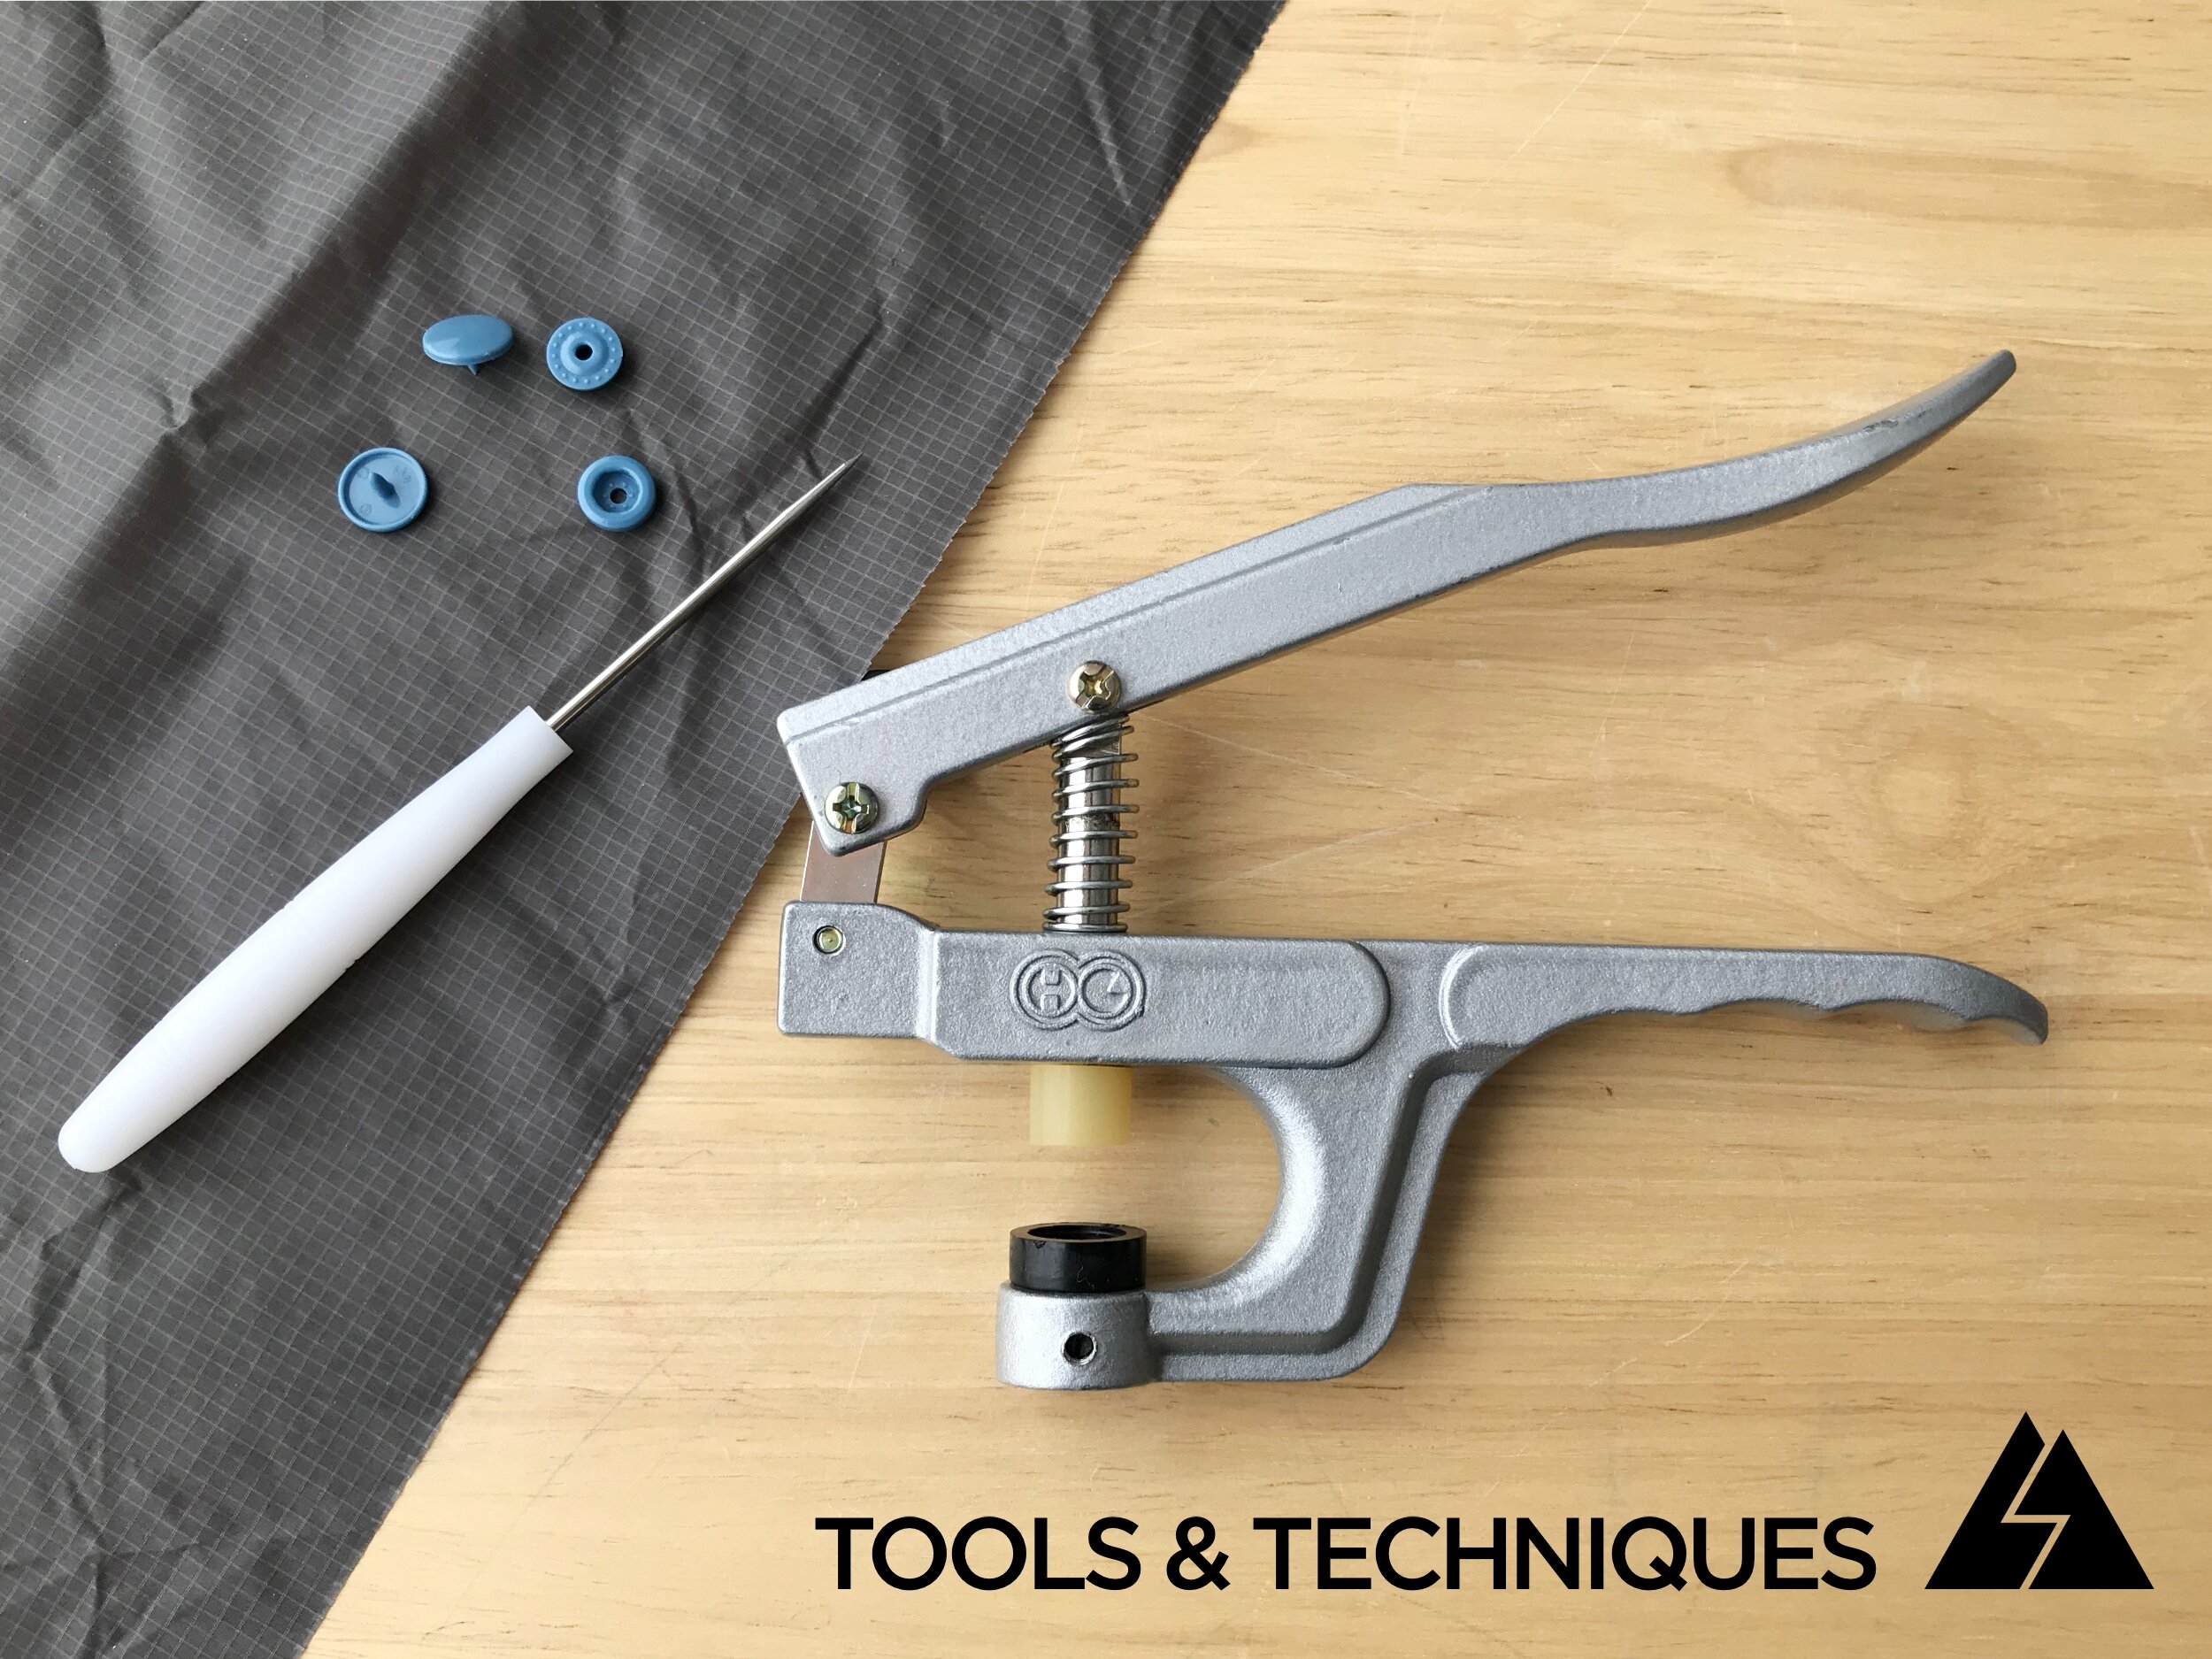
Overview of the tool
The hand setter consists of a fixed die and a plunger that is actuated by squeezing the plier like handles. The die holds the snap parts in place, and the plunger crimps them together. The snap setter comes with different size dies to hold different size snaps. Size 20 snaps (also called T5) are the most common size and are a good size for use in outdoor gear. The dies can be switched out by loosening a small set screw below the die.
Overview of the snaps
A complete snap is made up of 4 parts. A male stud and a cap on one side and a female socket and a cap on the other. The standard size 20 snap can be installed in fabric up to 2mm thick. If you need to install it in thicker fabric, there are “extra long” snaps available. The snaps are available in almost any color.
Installing a snap
First determine where the snap will go. If you are installing the snap in ultralight fabrics like silnylon, it’s a good idea to install it through more than one layer of fabric to reduce the possibility of the snap tearing out. It could be installed in a hem where the fabric has been folded over itself, or a piece of backing fabric could be placed behind the snap.
Poke a hole through the fabric where the snap will be installed. Often the snap setter will come with a tool for doing this. I have found that with some ultralight fabrics I can push the stem of the cap right through the fabric, no tool needed.
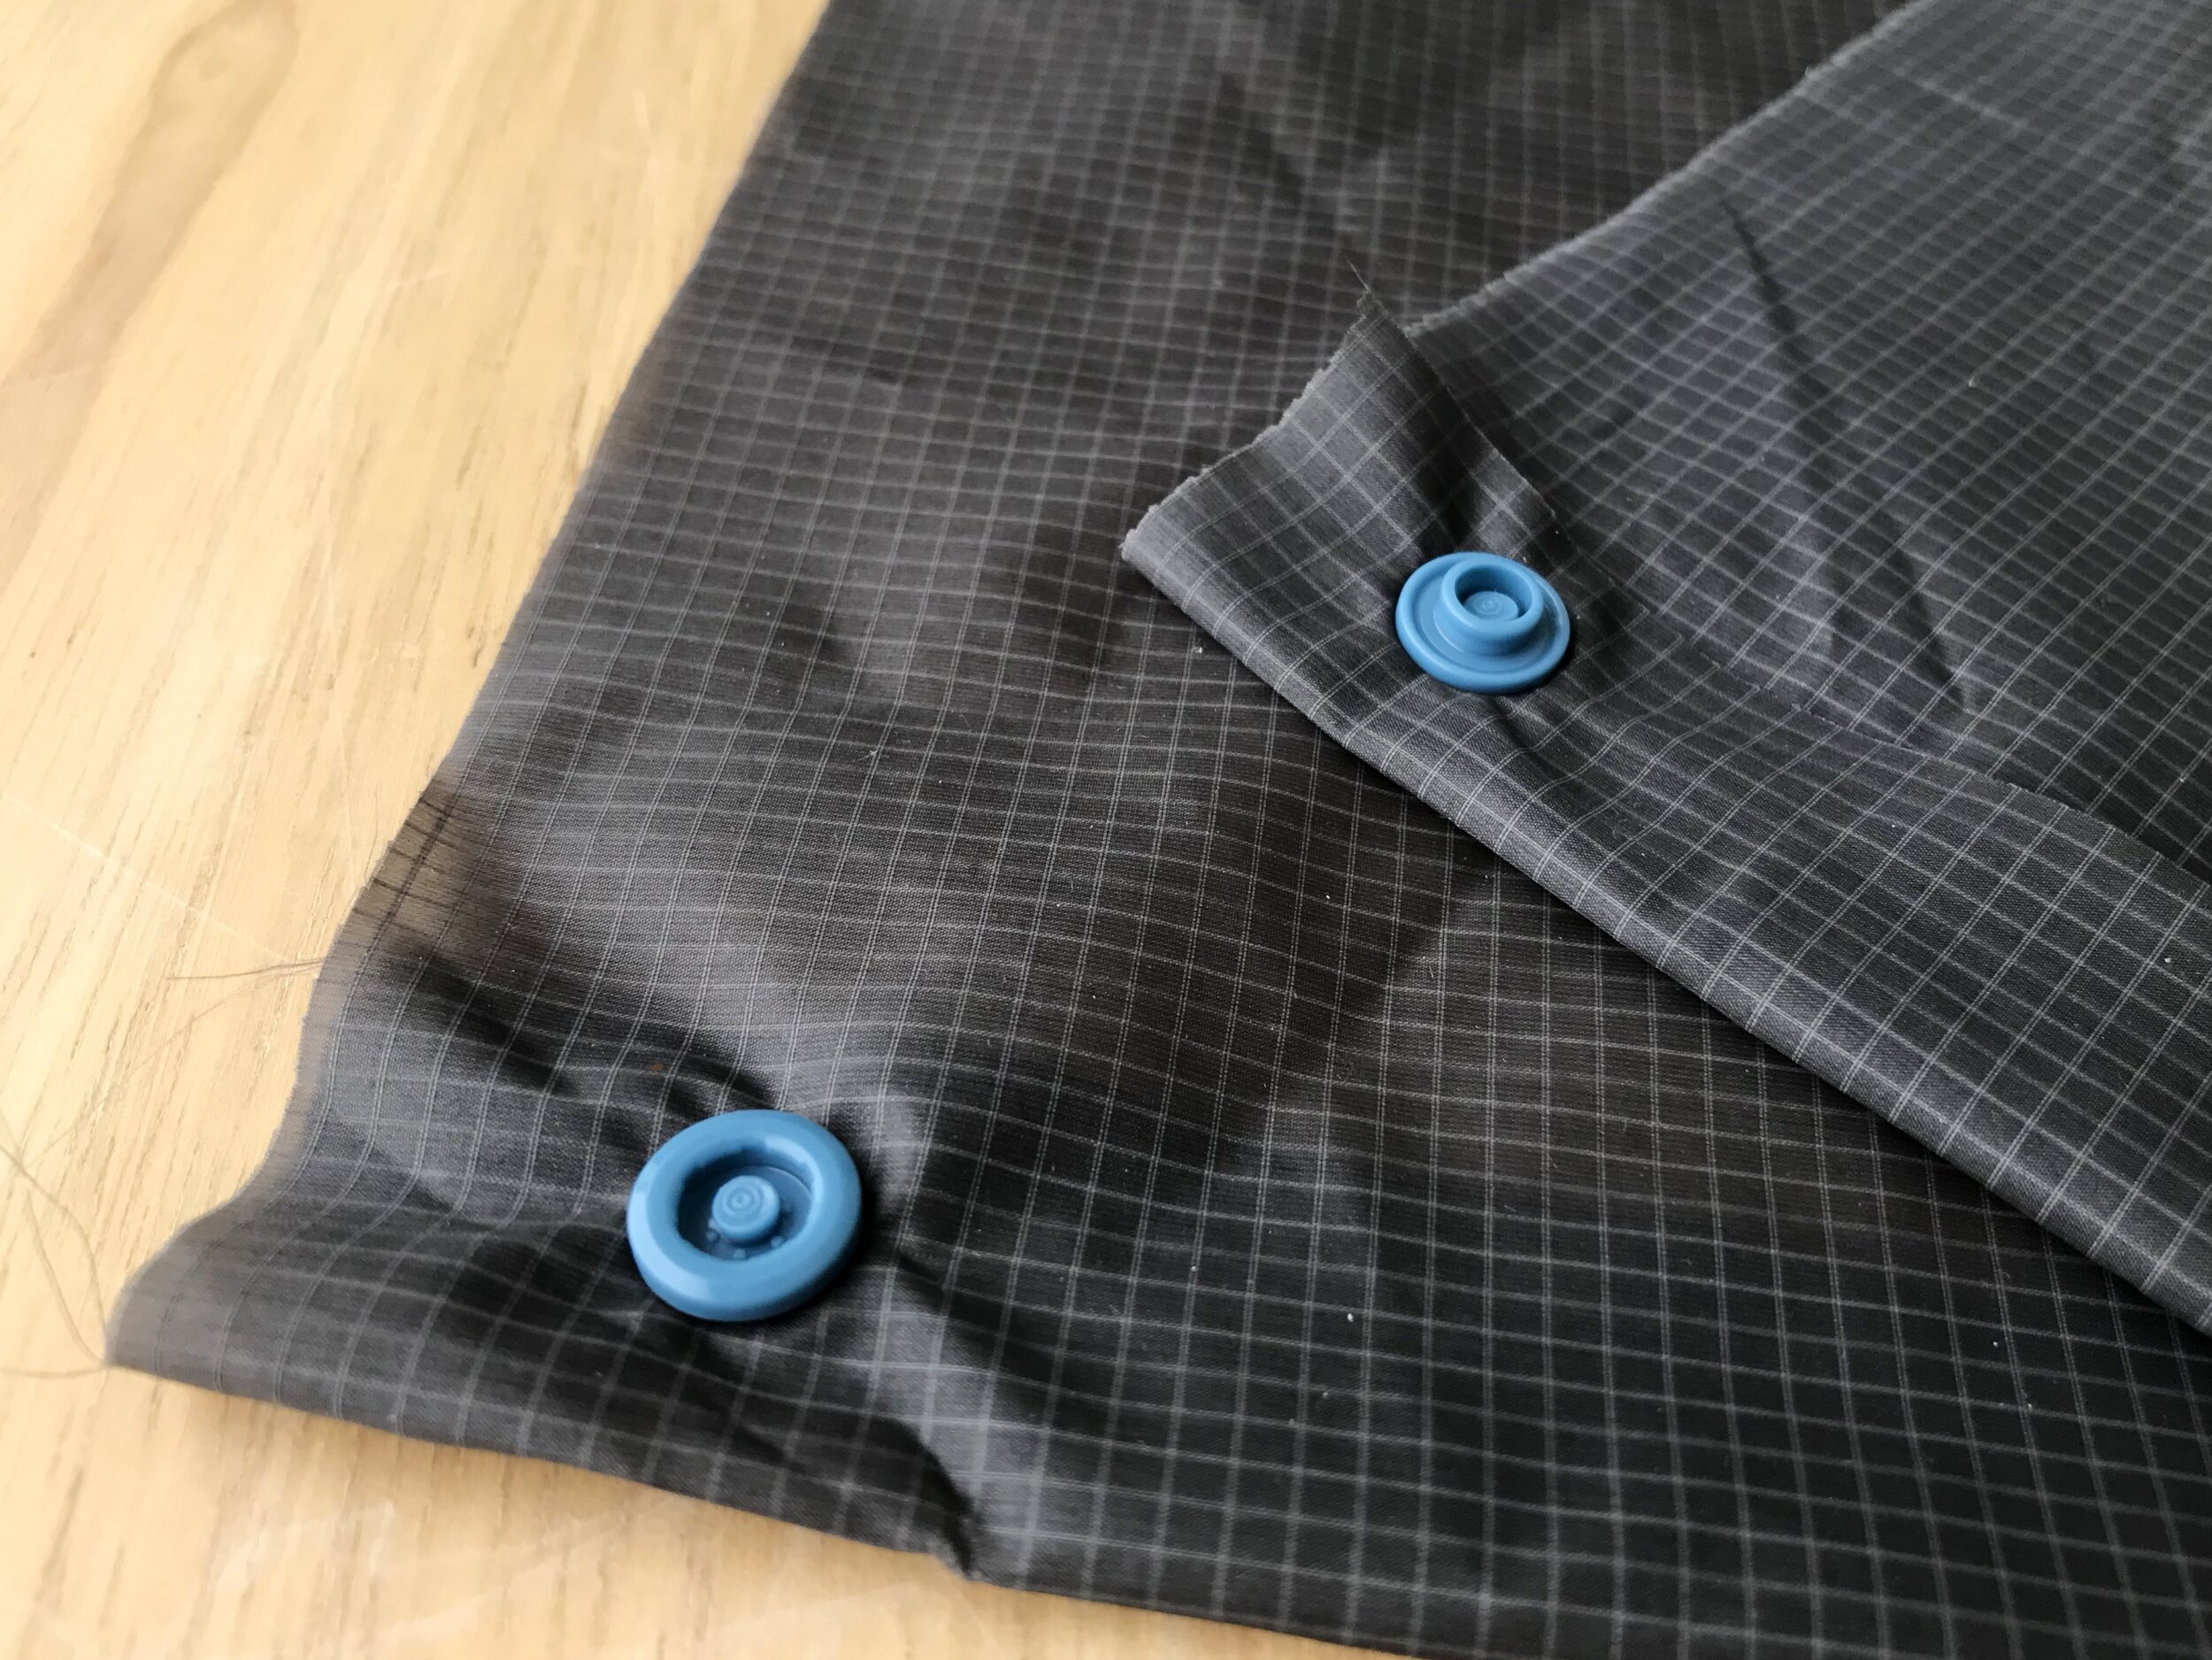
Press the stem of a snap cap through the hole in fabric. Place a female socket over the cap stem.
Place the snap, cap side down, onto the die in the snap setter. Make sure the cap is centered in the die and sitting flat. Squeeze the handles of the setter tight.
The plunger will mash the stem of the snap cap flat securing the snap in place.
Repeat the same steps for installing the male side of the snap. Take note of the orientation of the snaps and be sure to install the male side so that it mates up with the female side as desired.
There you have it. An easy way to add more functionality to your MYOG projects.
Related products that we recommend:
The link above is an affiliate link. As an Amazon Associate Stitchback earns from qualifying purchases.